Practical guide · Proportion
How to enlarge a photo with the grid method
A complete studio workflow for scaling a photo to a larger drawing surface while preserving proportion, choosing grid sizes, and correcting transfer errors.
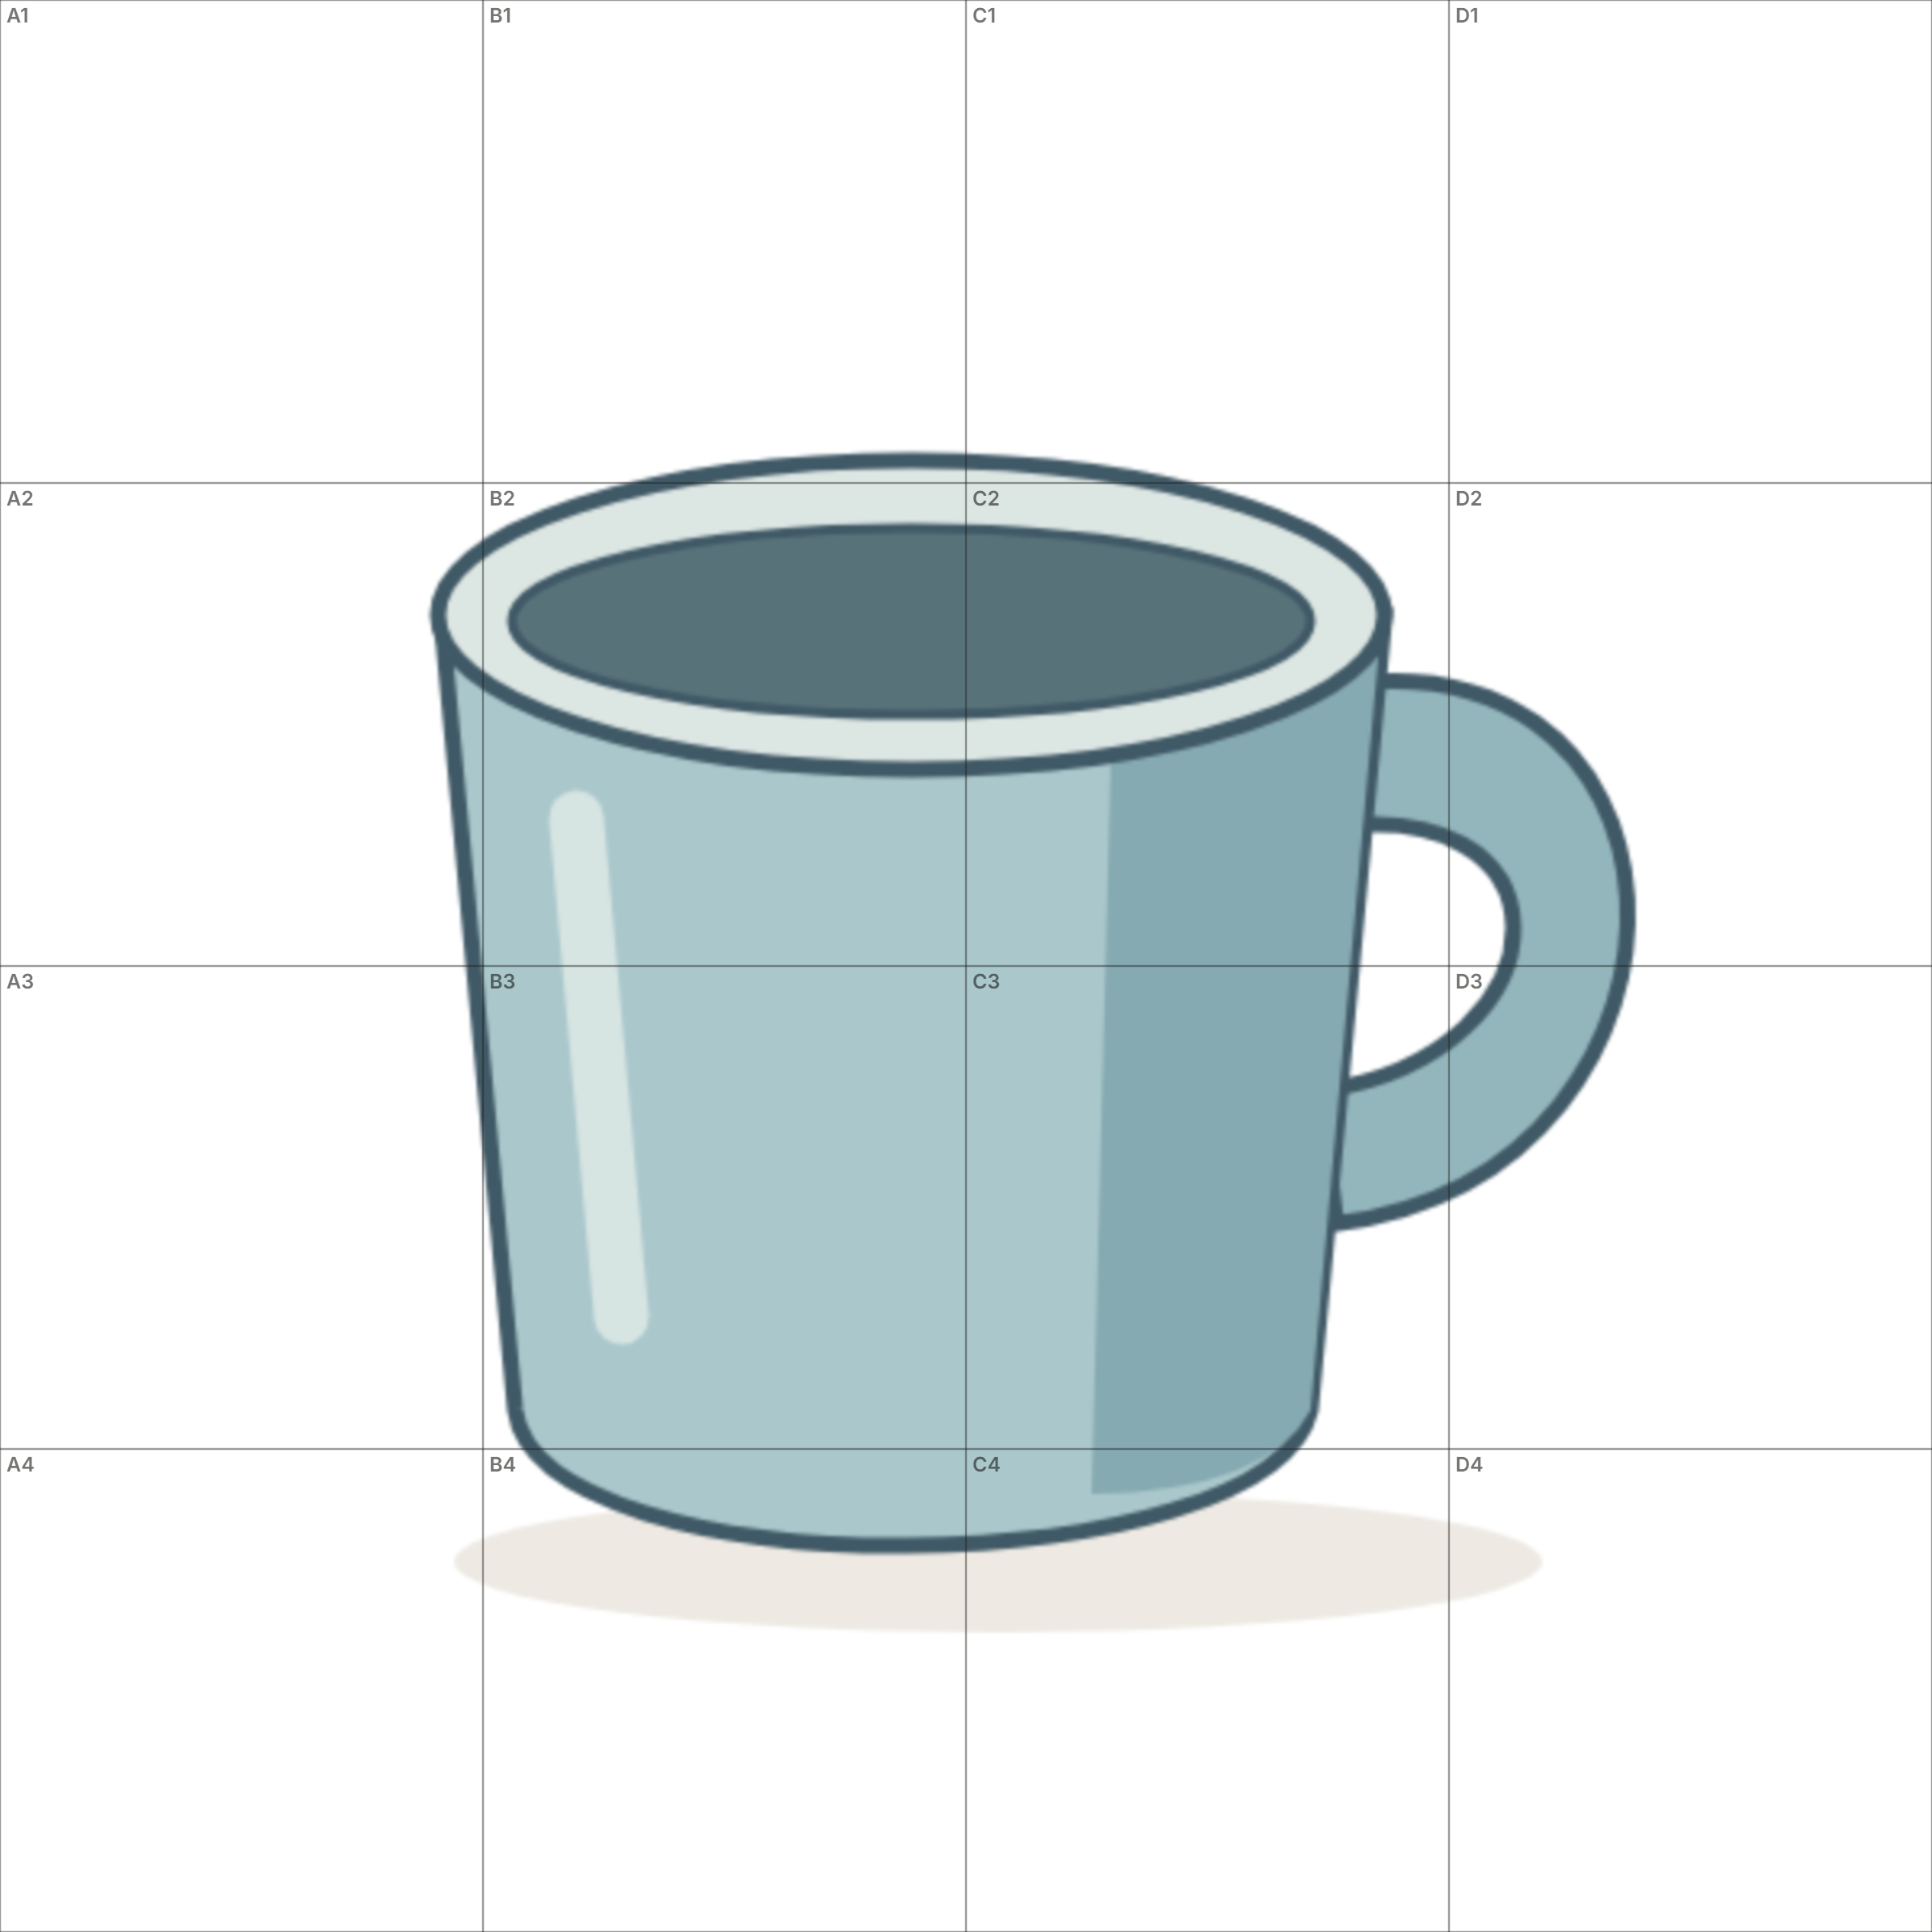
The grid method lets you enlarge a reference by transferring the same set of proportional relationships to a bigger surface. Each square on the photo corresponds to one larger square on the paper, canvas, mural panel, or wood support. Because the number of rows and columns stays the same, an edge that crosses halfway across one source square should cross halfway across the matching destination square, no matter how large the final work becomes.
The method is reliable, but it is not automatic. A grid can preserve scale only when the source and destination share the same aspect ratio, the lines are measured accurately, and the artist continues to compare across neighboring cells. This guide treats the grid as a checking system rather than a collection of isolated boxes, so the transferred drawing remains coherent and editable.
1. Decide the final format before drawing the grid
Use an 8 × 10 in reference and a 16 × 20 in canvas, each divided into 4 columns × 5 rows. Reference cells are 2 × 2 in (8 / 4 and 10 / 5). Canvas cells are 4 × 4 in (16 / 4 and 20 / 5). Both dimensions double: 16 / 8 = 20 / 10 = 2. This is a uniform 2× enlargement.
Reference cell width = reference width / columns. Reference cell height = reference height / rows. Canvas cell width = canvas width / columns. Canvas cell height = canvas height / rows. Compare scale factors in the same physical unit. Only equal width and height ratios give a uniform scale.
| Measure | Reference | Canvas |
|---|---|---|
| Width × height | 8 × 10 in | 16 × 20 in |
| Columns × rows | 4 × 5 | 4 × 5 |
| Cell size | 2 × 2 in | 4 × 4 in |
| Linear scale | 1× | 2× |
The default Photo Grid surface follows the image ratio without cropping or margins. Settings sent from the calculator instead keep a fixed canvas and fit the whole photo with blank margins when needed.
For example, fitting 8 × 10 in inside 16 × 16 in uses 1.6× scale: the image occupies 12.8 × 16 in with 1.6 in margins on each side. The 4 × 5 canvas cells are 4 × 3.2 in and do not directly match the original 2 × 2 in cells. Export a new reference grid over the full fitted canvas and its matching blank grid; transfer between those two.
To crop instead, use an image editor before uploading, then enter the cropped dimensions. Cropping discards content; blank margins preserve content without stretching or inventing background. Photo Grid has no crop-to-fill control.
Check these dimensions in the calculator →- 01Measure the usable width and height of the destination surface.
- 02Calculate or compare its width-to-height ratio with the reference.
- 03Crop externally to a matching ratio, or choose blank margins in the size calculator before generating the matching pair.
- 04Leave a small working margin if the final artwork will be framed or wrapped around stretcher bars.
2. Choose a grid density that matches the subject
A coarse grid is usually better than a dense one. Begin with four to eight cells across the shorter dimension. Simple landscapes and still lifes may need only a 4 by 5 or 5 by 7 grid. A portrait with small changes around the eyes and mouth may benefit from eight to twelve cells, but adding dozens of cells too early creates visual noise and encourages you to copy fragments without seeing the head as a whole.
You can also subdivide only where needed. Keep the broad grid for the full composition, then draw a temporary diagonal or half-cell inside one square that contains a difficult hand, eye, or architectural junction. Local subdivision preserves the clarity of the main scaffold while giving extra reference for a genuinely complex area.
3. Mark the destination grid lightly and accurately
Use a sharp hard pencil such as 2H on drawing paper, watercolor pencil in a compatible color on watercolor paper, or a light chalk line on a toned or painted ground. Test the material on a scrap or hidden edge first. The grid should be visible while you work but easy to erase, cover, or integrate later. Heavy graphite can groove paper, dirty pale paint, and remain visible beneath transparent washes.
Measure from one fixed edge rather than stepping a ruler from cell to cell. Small errors accumulate when each new mark depends on the previous mark. Match Photo Grid labels: letter columns A–D left to right and number rows 1–5 top to bottom. A1 is the upper-left cell; D5 is the lower-right. Clear labels reduce the chance of transferring a correct shape into the wrong square.
- 01Mark all column positions from the left edge and all row positions from the top edge.
- 02Check the final interval before ruling full lines.
- 03Draw with minimal pressure and a straightedge appropriate to the surface.
- 04Label the margins consistently on the source and destination.
4. Transfer landmarks, crossings, and negative spaces
Do not begin by polishing the contents of the first square. First mark the highest, lowest, leftmost, and rightmost points of the subject. Add major landmarks such as the eye line, shoulder angle, horizon, or corners of a dominant object. Check where the silhouette crosses grid lines and estimate each crossing as a fraction of the cell width or height.
Connect landmarks with simple straight or gently curved lines, then inspect the negative spaces around the subject. The gap between a head and shoulder, or between a vase handle and its body, often reveals proportional drift more clearly than the named object. Work across several neighboring squares so contours join naturally instead of becoming a patchwork of disconnected segments.
5. Correct the whole drawing before adding detail
Step back until the grid becomes less noticeable and compare the large envelope, tilt, and spacing with the reference. Look for gradual drift: a contour may cross every individual cell reasonably well yet move farther from the correct position over several rows. Flip the reference and drawing digitally or view the physical drawing in a mirror to expose familiar errors.
Once the large structure works, add internal shapes and a simple value map. Erase or soften the grid before delicate rendering, but keep enough landmarks to prevent later drift. If paint will cover the transfer, fix loose graphite according to the material manufacturer’s guidance and avoid sealing a surface in a way that harms adhesion.
Before you continue
Studio checklist
- Source and destination have matching aspect ratios or an intentional crop.
- Every destination cell is the same size and all marks were measured from fixed edges.
- The grid is light enough to remove or cover without damaging the surface.
- Major landmarks and silhouette crossings were placed before small details.
- Neighboring cells connect smoothly and the whole drawing has been checked from a distance.
Frequently asked questions
How do I calculate the enlargement factor?
Divide the destination width by the source width, then confirm that destination height divided by source height gives the same result. If both results match, multiply every source cell dimension by that factor.
Can I enlarge only part of a photograph?
Yes. Crop the desired area first, decide the destination aspect ratio, and grid the crop as a new reference. This is often clearer than gridding a full photo and ignoring unused cells.
Will using a grid make the drawing look stiff?
Only if each cell is copied in isolation. Place broad landmarks first, connect gestures across cells, and hide the grid periodically to judge the whole composition.