Deep dive
Understand the method, not just the steps.
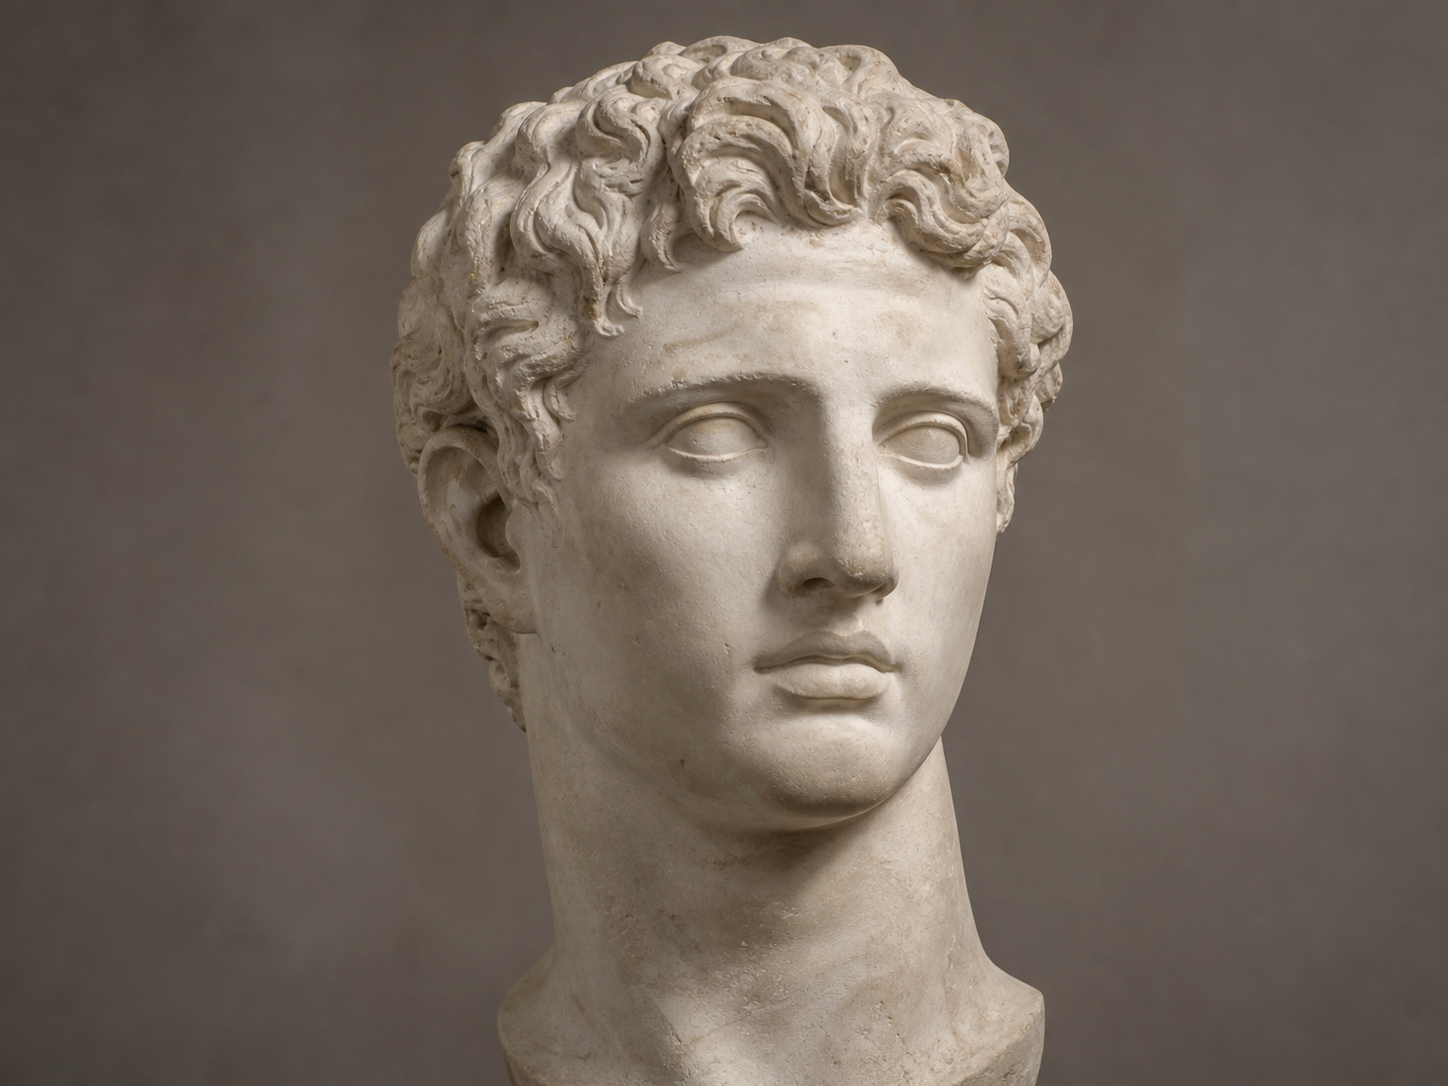
Portrait symmetry is a three-dimensional relationship, not a command to make the visible left and right sides identical. A head turning away from the viewer shows more of the near cheek and less of the far cheek. The paired eyes, nostrils, and mouth corners still belong to the same structure, but perspective changes their visible spacing and shape. A wrapped center line makes that turn measurable.
The center line should travel over the forehead, nose, lips, and chin like a stripe painted on a sculpture. Cross-contour bands for the brow, eyes, nose, and mouth then wrap around the same volume. Together they create a flexible coordinate system for checking features before small anatomical detail makes corrections difficult.
Let the axis describe both turn and tilt
A front-facing upright head has a nearly central vertical axis. As the head turns, the axis shifts toward the far contour; as it tilts, the feature bands angle relative to the page. Observe both changes at once. A correct turn with a missed tilt still produces a stiff or mismatched portrait.
Pair landmarks across the form
Compare inner eye corners, outer eye corners, nostril wings, mouth corners, jaw angles, and ear placement as pairs. Draw through the form mentally and ask whether both points sit on the same wrapped level. This method catches the common error of allowing one eye or mouth corner to drift vertically.
Measure compression on the far side
The far side is narrower in the image, but it is not simply a smaller copy. Its contours overlap sooner, and forms such as the far eye or nostril may change shape. Measure from the center line to each side contour, then compare those distances with the reference instead of relying on a general idea of symmetry.
Common mistakes
Splitting the silhouette in half
A page-centered line says nothing about the form. Wrap the axis over the head and let its position respond to the turn.
Drawing the far eye as a smaller symbol
Perspective compresses the eye socket and lids as connected forms. Rebuild the far eye from its landmarks rather than shrinking a finished eye shape.
Correcting features without the skull
Repeatedly moving eyes and lips cannot fix a cranial mass or jaw that faces the wrong direction. Return to the head volume first.
Progress the skill
Track the same landmarks through a changing view
Use a short sequence of the same head turning from front view to profile. Mark only the center axis, brow, eye, nose, mouth, chin, and ear relationships. Watch how the far side compresses and eventually disappears while the feature bands continue to wrap around the volume. This makes perspective change visible without the distraction of rendering.
On a second pass, add simple features while keeping every construction band visible. If an eye or mouth corner conflicts with the band, correct the feature rather than bending the structure to protect a finished shape. The exercise builds confidence that paired landmarks can remain related even when their visible shapes are very different.
Practice exercise
Paired-landmark portrait drill
Choose a clear three-quarter portrait with neutral expression and even lighting.
- 01Block the cranial mass, jaw, and neck with straight lines.
- 02Wrap one center line from hairline to chin.
- 03Add brow, eye, nose, and mouth cross-contours.
- 04Place paired landmarks without drawing finished features.
- 05Flip the drawing or view it in a mirror and correct the largest compression error.
Frequently asked questions
Should the center line follow the nose edge?
No. It follows the middle of the facial structure, often passing over the bridge and center of the nose. The visible nose edge sits to one side and changes with lighting and viewpoint.
Why do the feature bands curve?
They describe a rounded volume. Their curvature helps the brow, eyes, nose, and mouth feel attached to the same turning head instead of pasted onto a flat oval.
Can this method be used for stylized portraits?
Yes. Exaggerated features still need a consistent axis and paired structure. Establishing the turn first gives you a stable base from which to stylize intentionally.