Advanced · Design and spatial systems
Golden spiral and visual movement
Arrange leaf-shaped marks along a diminishing curve, then test whether their spacing suggests a path toward a seed. This is a designed diagram, not a claim about natural growth or universal eye movement.
Interactive study plate
Find the broad entry
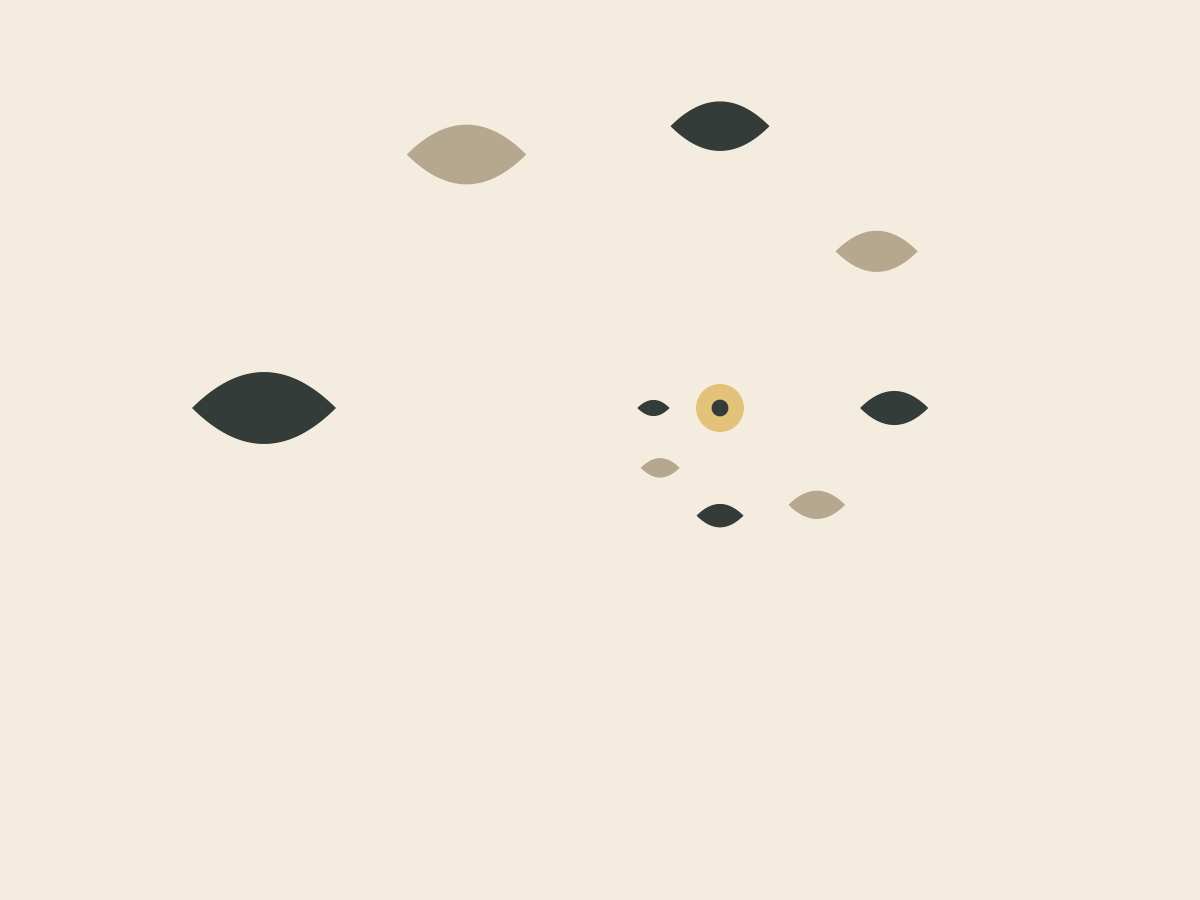
Look here: The outer leaves are both larger and farther apart.
Start at the largest leaf on the left, near (22, 34). Trace toward the upper leaf at (60, 10.5). Leave this empty interval wider than the gaps near the seed.
Reference image
Leaf rhythm around a seed — an original DrawGrid vector arrangement. Source: DrawGrid original vector lesson plates; no external artwork or stock image is used.
Golden spiral path
The overlay uses the same frame coordinates as this reference. Switch each layer on to compare the indicated relationships.
Three-value demonstration
The same leaf silhouettes and seed in three values, with no spiral drawn into the image.
All steps for reading and practice
1. Find the broad entry
Start at the largest leaf on the left, near (22, 34). Trace toward the upper leaf at (60, 10.5). Leave this empty interval wider than the gaps near the seed.
Check: Do not give every leaf the same spacing.
2. Follow the turns
Enable the spiral. Follow left leaf → upper leaf → right leaf → lower inner leaf. These centers were deliberately placed on a logarithmic curve; you are designing an arrangement rather than discovering a hidden law in a photograph.
Check: Draw the rhythm first on paper, then place the leaf masses around it.
3. Tighten toward the seed
Compare successive quarter turns. The radius shrinks by φ, approximately 1.618, per quarter turn: from 38 to about 23.5, then 14.5 frame units. Reduce leaf size as well as spacing near the seed at (60, 34).
Check: Equal gaps create a regular border rather than this inward compression.
4. Test the implied path
Hide the spiral and landmarks. Follow the sequence of dark and middle-value leaves. Sketch an alternative with the inner leaves farther apart and compare the sense of arrival. The diagram does not predict where every viewer will look.
Check: Keep the seed distinct; do not let the closest leaves merge into one blob.
5. Compare and redraw
The demonstration keeps every silhouette in place while simplifying color. Draw nine leaf masses and one seed without the guide, then turn it back on to compare centers. Correct the largest gap error before adding veins.
Check: A successful practice preserves decreasing gaps and a distinct focal seed.
Continue Section III