Deep dive
Understand the method, not just the steps.
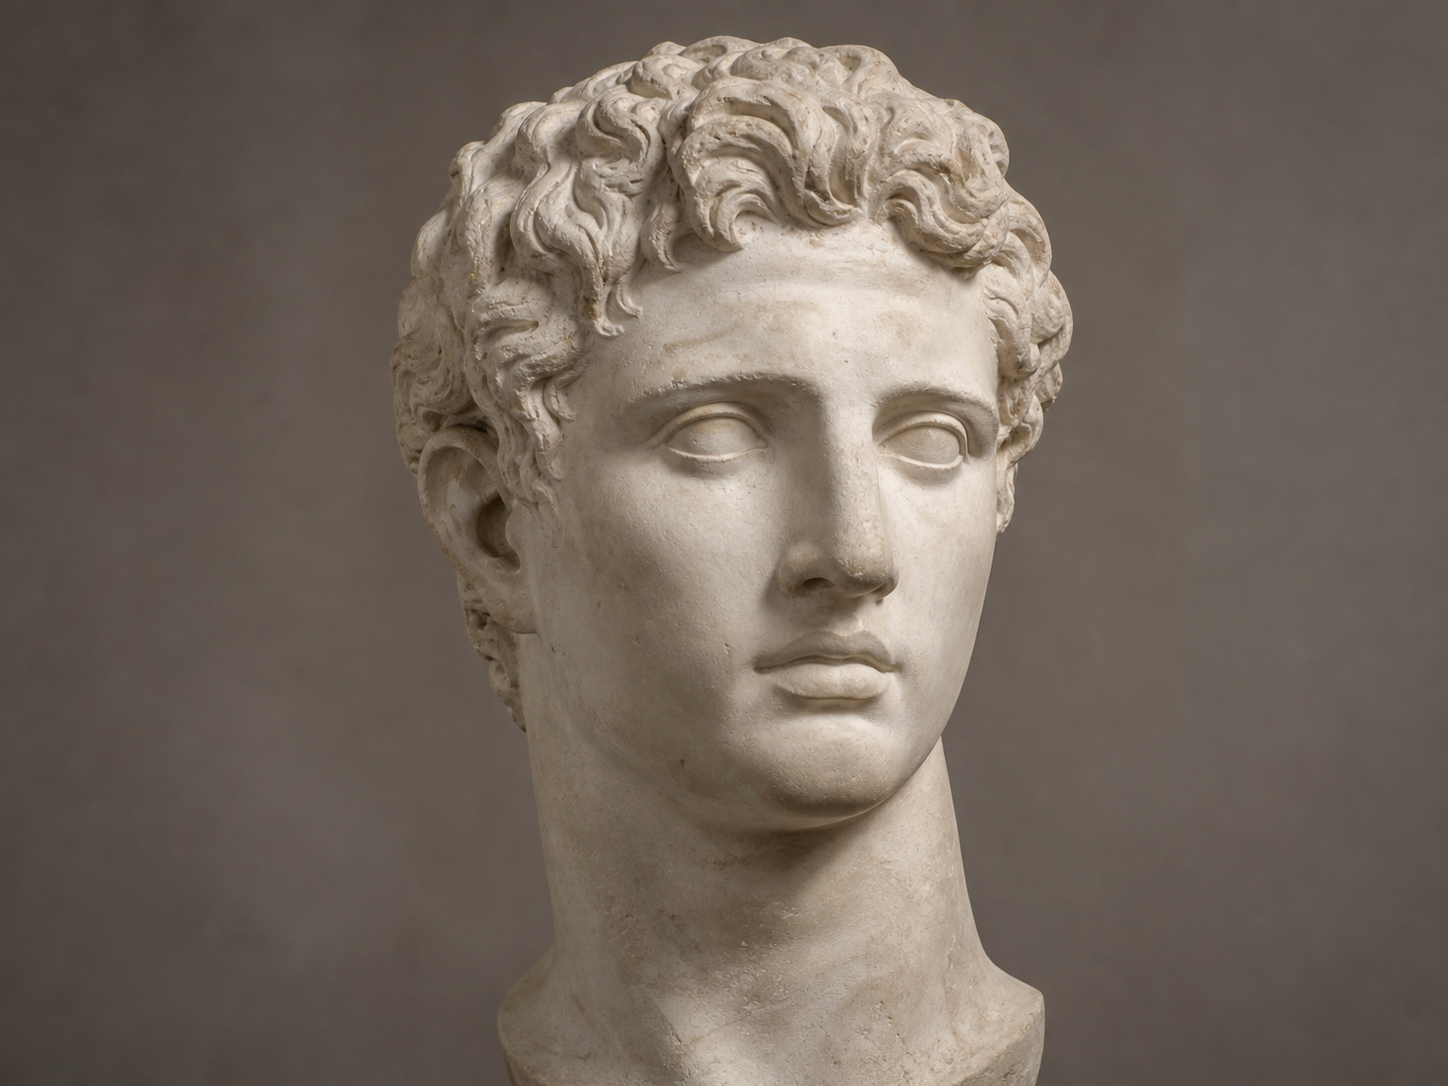
Portrait construction organizes the head as a set of connected volumes before individual features are designed. The cranial mass, side plane, jaw, facial block, and neck support establish the head turn and proportion. When these large structures agree, the eyes, nose, and mouth inherit a believable orientation. When they do not, detailed features tend to look carefully rendered but unattached.
Construction lines are temporary explanations. An axis describes direction, a cross-contour describes a level around the form, and a plane break describes a change in orientation. Use only the lines that answer a structural question. Their purpose is to make correction easier early, when the drawing is still light and flexible.
Give the cranium enough volume
Beginners often draw the facial mask first and leave too little skull behind it. Start with the full cranial mass, including the back and top of the head. Compare its height and depth with the jaw. Hair sits on this volume; it does not replace the missing structure.
Use the side plane to clarify turn
A side-plane cut transforms a generic ball into an oriented head. Align it with the brow, ear region, and jaw attachment. The visible width of this plane changes with the viewpoint, making it a useful check for how far the head turns.
Attach the jaw, face, and neck
Hang the jaw beneath the cranium, project the brow-to-chin facial block, and connect the skull to the neck. These forms overlap and support one another. The neck begins under and behind the skull rather than growing from the chin, and its angle strongly affects the perceived head tilt.
Common mistakes
Building features on a flat oval
An oval gives a boundary but no orientation. Add an axis, side plane, jaw, and cross-contours before resolving features.
Making the cranium too small
Check the volume behind the ear and above the brow. A small skull makes the face feel crowded and the jaw overly dominant.
Attaching the neck at the chin
The neck supports the base and back of the skull. Place it early so the head tilt and weight remain believable.
Progress the skill
Carry construction into a resolved block-in
Select one constructed head and add a single light source using only four values. Let the shadow boundary wrap across the cranial mass, facial block, jaw, and neck rather than treating each feature separately. The lighting should reinforce the same planes established by the construction, making the head feel more solid without hiding the underlying decisions.
On a second tracing, remove half of the construction lines while preserving the final placement. Keep only the axes and plane breaks that still explain a correction. This teaches you to use construction economically: enough to control orientation and proportion, but not so much that the drawing becomes a diagram with no visual hierarchy.
Practice exercise
Six-angle head construction sheet
Use one model photographed from front, three-quarter, profile, upward, and downward views.
- 01Draw the cranial mass and mark its center axis.
- 02Cut the side plane according to the turn.
- 03Attach the jaw as a separate structural shape.
- 04Wrap brow and nose levels around the facial block.
- 05Add the neck and shoulders, then stop before drawing eyelashes or texture.
Frequently asked questions
Are construction lines the same as the Loomis method?
The Loomis method is one useful construction system, but the broader principle is to organize the head with volumes, axes, and planes. You can adapt the specific landmarks to your preferred approach.
How dark should construction lines be?
Light enough to revise without damaging the surface, but clear enough to review. Strengthen only the final edges that describe important overlaps or plane changes.
When should I start drawing likeness?
Begin specific comparisons as soon as the large head structure is stable. Likeness comes from deviations in width, angle, spacing, and shape, not from postponing observation until the features are polished.