Deep dive
Understand the method, not just the steps.
Gesture drawing records the action, balance, and rhythm of a pose before anatomy and contour. The goal is not to make a fast outline. It is to find the dominant directional idea that connects the head, torso, pelvis, and supporting foot, then organize the limbs around that action. A simple gesture can feel alive with very few marks when those marks explain weight and flow.
Long directional strokes are easier to compare than a chain of small contour fragments. They reveal whether the shoulders and hips oppose one another, whether the body mass is supported, and whether a reaching limb continues or interrupts the main rhythm. Structure can be added afterward, but it should reinforce the initial action rather than replace it.
State one dominant action
Search for the longest useful directional sweep through the pose. It may run from the head through the spine to a planted leg, or connect a reach through the torso to the opposite foot. Draw it once with commitment. Several competing action lines usually indicate that the pose has not yet been simplified.
Relate shoulders, rib cage, and pelvis
Treat the shoulder line and hip line as structural axes. Their angle and opposition explain twist, lean, and contrapposto. Add simple masses for the rib cage and pelvis around those axes, leaving room for the torso to stretch on one side and compress on the other.
Prove balance through the support
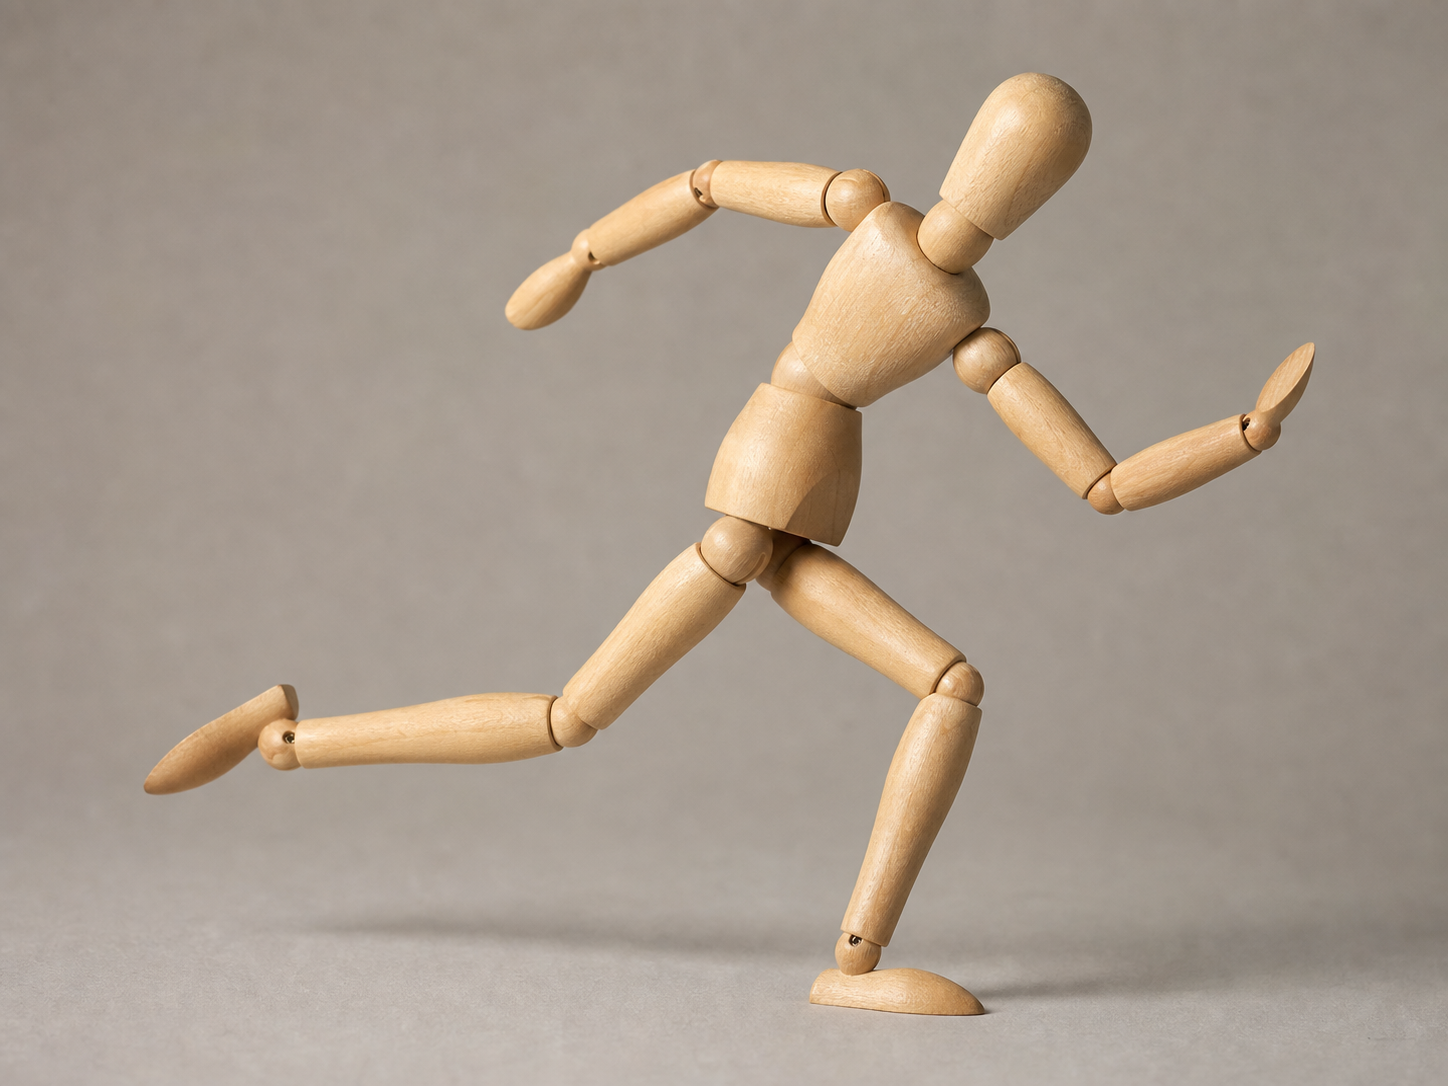
A dynamic pose still obeys gravity. Identify the weight-bearing foot or other support, then ask whether the body mass resolves over it. In a running or falling action, note that the center of mass may deliberately move beyond the base, creating momentum rather than stable balance.
Common mistakes
Making a quick contour drawing
Speed alone does not create gesture. Draw through the figure and prioritize internal direction over the outside edge.
Using many scratchy strokes
Repeated searching lines can hide the main decision. Pause, identify the direction, and place one longer stroke.
Adding anatomy that stiffens the pose
Muscle detail should wrap around the action and major masses. If structure weakens the flow, simplify and restate the dominant line.
Progress the skill
Add volume without sacrificing the action
Choose one successful one-minute gesture and redraw it at five minutes. Wrap simple rib-cage, pelvis, and limb volumes around the original action lines, leaving those lines visible. After each added form, ask whether the pose still leans, reaches, or carries weight in the same way. If it stiffens, simplify the latest volume instead of redrawing the contour repeatedly.
Then reverse the process: study a more finished figure drawing and extract only its action, shoulder axis, hip axis, and support. Being able to move between a full figure and a few directional marks shows that gesture is structural analysis, not merely a warm-up style.
Practice exercise
Ten one-minute gestures
Use varied standing, walking, and reaching poses, and keep each drawing small enough to see the whole figure at once.
- 01Spend ten seconds identifying the support and dominant action.
- 02Place one line of action and the head direction.
- 03Add shoulder and hip axes.
- 04Connect limbs with single directional strokes.
- 05Use the final seconds to clarify weight, overlap, and the longest rhythm.
Frequently asked questions
How fast should gesture drawings be?
One to three minutes is useful for learning simplification, but the real constraint is decision quality. Slow down briefly when you need to identify balance or direction instead of drawing faster without purpose.
Should gesture lines stay visible?
During practice, yes. Visible construction makes it possible to judge whether later forms support the original action. They can be softened in a finished drawing.
Can I practice gesture from photographs?
Yes, especially with sports or dance references. Live models add time pressure and spatial information, but clear photographs are excellent for repeated short studies.