Exercise 10 · Difficulty: Intermediate · About 20 minutes
Leaf sprig Grid Drawing Practice
Skills: Repeated forms · Spacing · Landmarks
Practice placing repeated forms without making them identical. Five leaves join a curved twig at staggered heights; their tips and the spaces between them carry the structure.
Practice Materials
Use a square frame with 6 × 6 matching cells. Draw on paper while keeping the reference beside you.
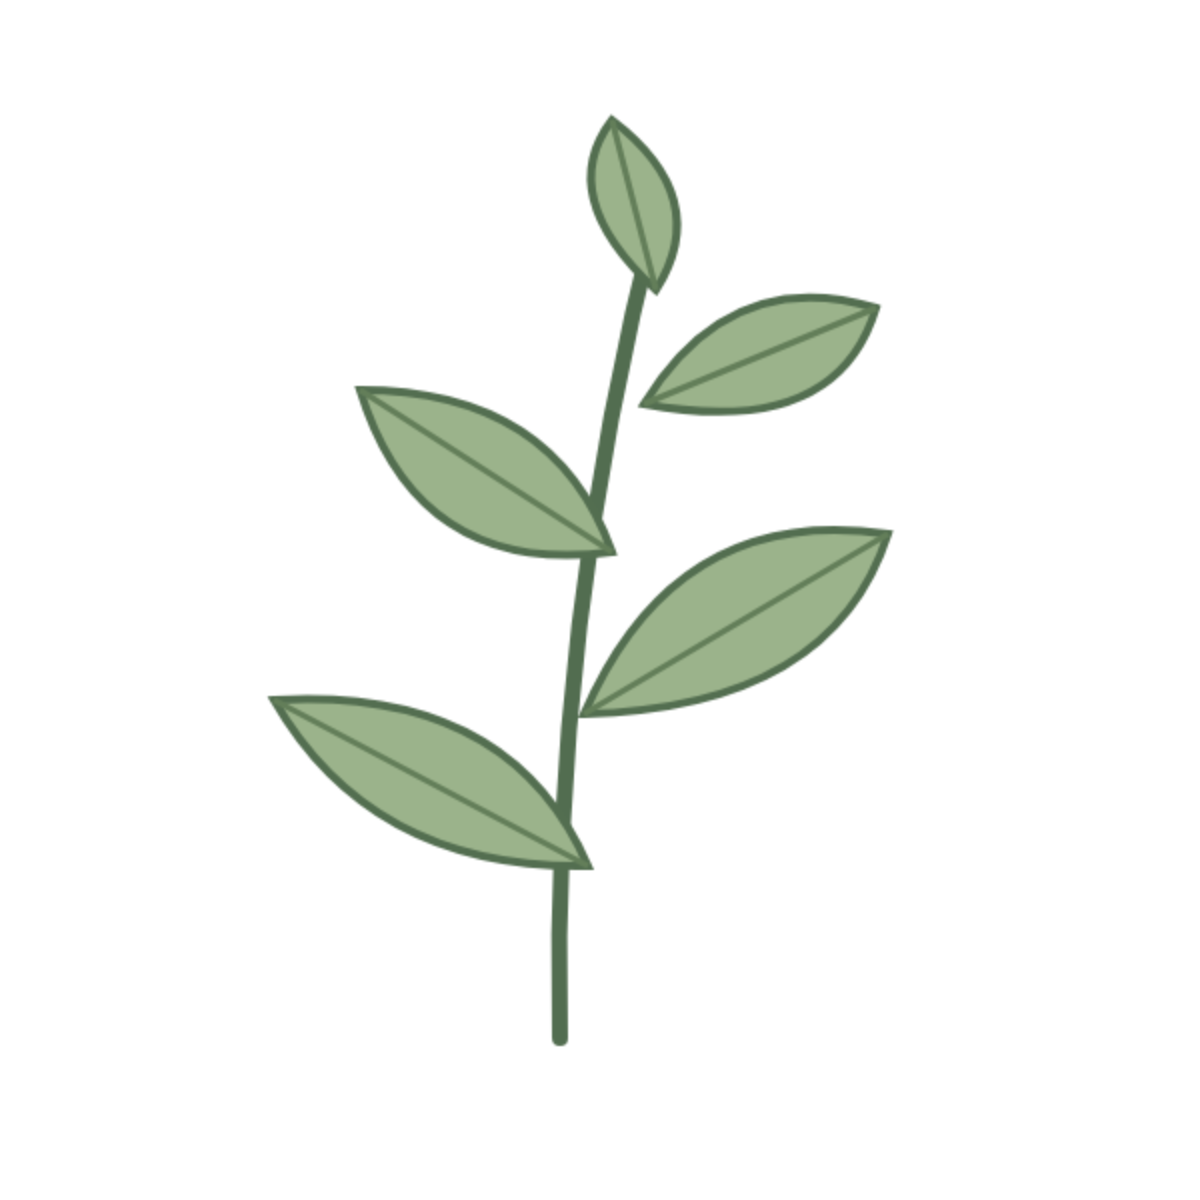
Reference Image
Observe the whole silhouette before using the grid.
Download reference PNGGrid Reference
Match the positions where curves cross cell edges.
Blank Grid
Keep the same frame proportions on your paper.
The PDF pairs a labeled reference with a matching blank grid. Print in landscape at actual size. Use the worksheet editor to change grid density, choose paper size or export a PNG.
01 — Follow the Twig Before Adding Leaves
Trace the main twig from bottom to top as one bending line. It moves toward the right as it rises. Do not replace that gesture with a straight vertical axis.
Mark the leaf attachments along this curve from bottom to top. Their intervals vary, so count their positions against the six-row grid instead of spacing them evenly.
02 — Connect Each Attachment to Its Tip
Locate the five pointed ends. The lower left leaf reaches far left, the next reaches right, and the sequence continues upward to a small terminal leaf.
Draw light tip-to-attachment directions. Compare the lengths before adding width: the top leaf is much shorter than the broad leaves below.
03 — Open the Gaps Between Neighboring Leaves
Build two curved edges around each direction. One side may be fuller than the other, so avoid repeating the same almond outline five times.
Check the white gap between the two left-facing leaves and between the two right-facing leaves. If a gap closes, correct the neighboring contour before adding veins.
04 — Check Your Drawing
Compare the whole drawing before refining individual cells. Use these checks to locate the largest mismatch.
Does the sprig look like a ladder?
Vary the attachment intervals using the reference. Keep the twig bending and the leaf directions alternating.
Are all leaves the same size?
Compare each tip-to-attachment distance with the short top leaf before widening any outlines.
Have two leaves merged?
Find the white gap that vanished. Move the incorrect contour rather than adding a dark separator line.
Practice This Exercise
Make a second attempt on paper. Choose a gridded reference or remove the grid to test the relationships you have learned.
Mark five leaf tips and their stem attachments. Compare the gaps between leaves.
The PDFs use the standard grid. For the challenge, draw a square frame on plain paper. Open the editor if you want fewer cells for an intermediate step.
Edit worksheetWhat You Practiced
- A curved twig organizes staggered attachments.
- Length and angle distinguish repeated forms.
- White gaps diagnose crowding between leaves.
Keep both attempts and note one correction: what moved, and which comparison showed you where it belonged?
Learn the Technique
Continue Your Practice
Reference: original DrawGrid illustration. Orange guides describe this reference and should be drawn lightly, then erased. Material source record