Deep dive
Understand the method, not just the steps.
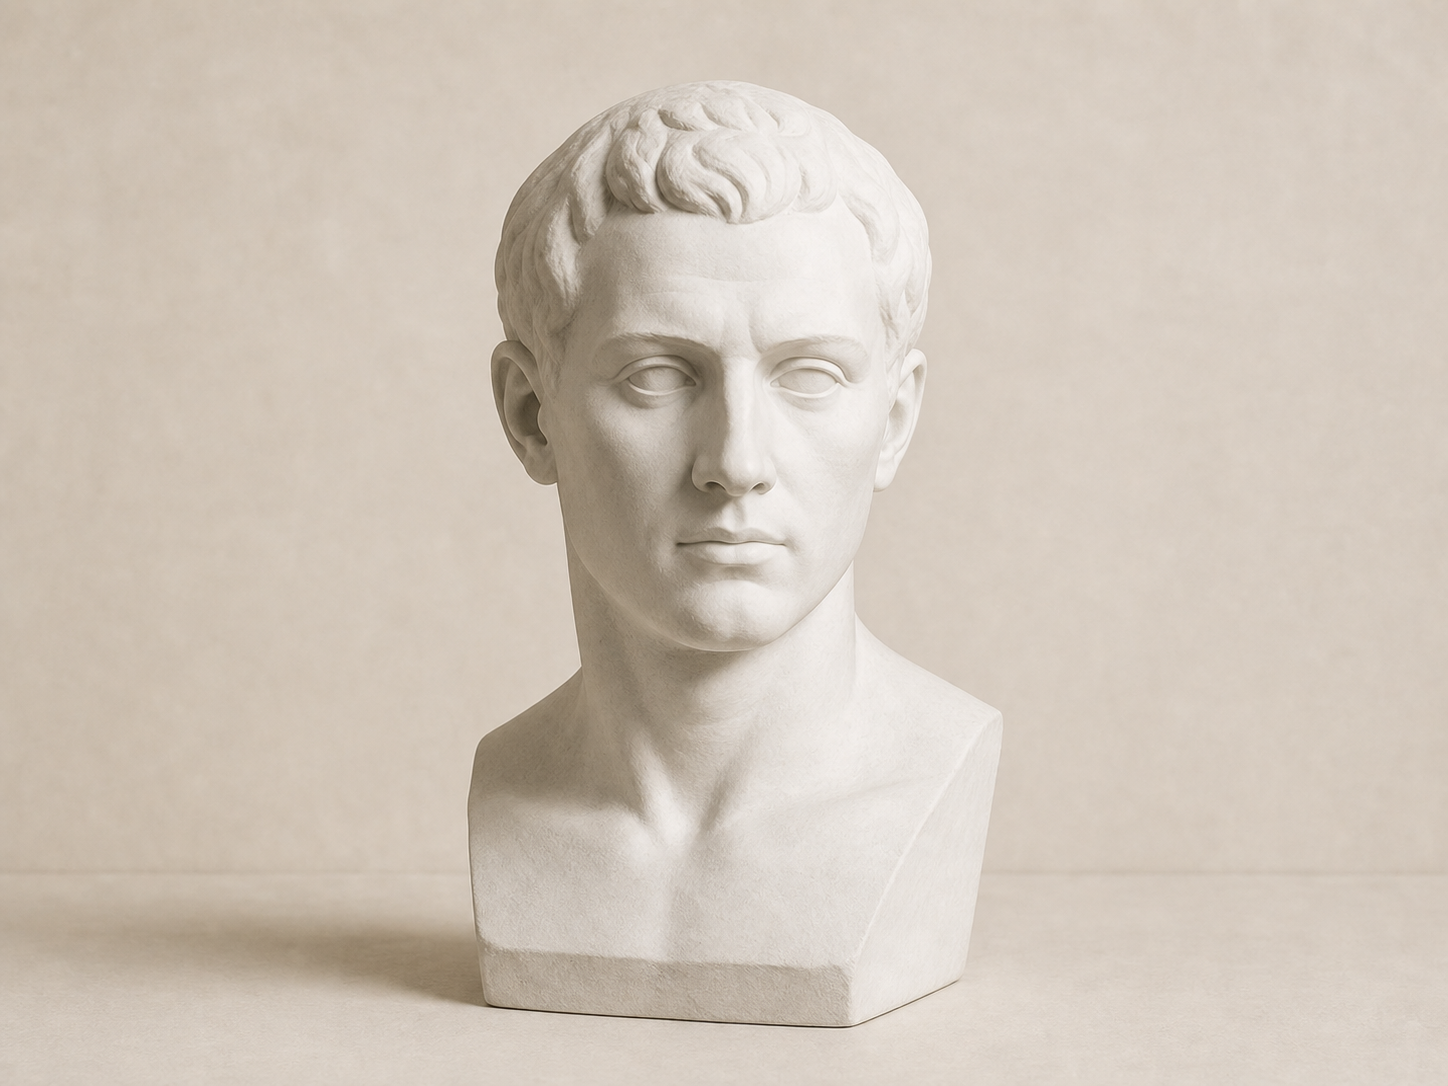
A believable head begins as a volume with direction, not as a collection of eyes, nose, and mouth symbols. The center line, feature levels, jaw, and neck establish the container in which likeness can later develop.
Proportional guides are averages rather than rigid laws. Their purpose is to organize observation and reveal deviations in the specific head you are drawing.
Use the average guide as a hypothesis, then test it against the individual sitter. Compare the brow-to-nose distance with the nose-to-chin distance, the width of the jaw with the cranial mass, and the visible far side with the near side. Age, expression, camera lens, and head tilt can all change how these intervals appear. Recording the specific deviation is more useful than forcing the reference back toward an ideal diagram. That is the point at which generic construction begins to support likeness rather than compete with it. Repeat the comparison from several references so one unusual viewpoint does not become a new formula. Keep these observations beside the drawing so they remain concrete during later feature refinement.
Build the cranial mass first
Start with the overall head volume and jaw relationship. Features cannot correct a skull shape that is too narrow, too short, or placed at the wrong tilt.
Wrap the center line around the form
The center line shows turn and tilt. In three-quarter view it shifts toward the far side and curves over the forehead, nose, mouth, and chin.
Place broad feature levels
Mark brow, nose base, mouth, and chin as adjustable bands. Compare their spacing before designing individual features.
Common mistakes
Drawing a face inside a flat oval
Treat the head as a three-dimensional mass connected to the neck. A flat outline encourages pasted-on features.
Making both sides equally wide
A turned head compresses the far side. Structural symmetry does not mean equal visible width.
Rendering eyes before checking the jaw
Feature detail attracts attention and makes large corrections harder. Resolve the cranial mass, jaw, and neck first.
Progress the skill
Turn average proportions into specific likeness
Build a sheet of three heads from the same sitter at different angles. Begin each with the same general construction, then write down the specific deviations you observe: a taller cranial mass, a shorter lower face, a wider jaw, or a brow line that tilts with expression. Repeated traits across views are stronger evidence of likeness than one attractive feature drawing.
Next, compare the head as a whole before touching the eyes or lips. Check width-to-height, the angle from brow to ear, the jaw-to-neck connection, and the amount of cranium behind the face. When those relationships remain consistent across views, detailed features have a stable structure to inhabit.
Practice exercise
Five-head construction drill
Use five different portrait references and stop every drawing before eyelashes or shading.
- 01Block the cranial mass and jaw.
- 02Add the neck and shoulder wedge.
- 03Wrap a center line around the head.
- 04Mark brow, nose, mouth, and chin levels.
- 05Compare width, tilt, and far-side compression before moving on.
Frequently asked questions
Are standard head proportions always accurate?
They are starting points. Age, viewpoint, expression, and individual anatomy create meaningful variation.
Why draw the neck so early?
The neck explains the head’s support, tilt, and relationship to the torso. Without it, the face often appears to float.
How do I improve likeness?
After the basic construction is sound, compare the specific distances, angles, and shape differences that make this head distinct.