Exercise 01 · Difficulty: Beginner · About 15 minutes
Apple study Grid Drawing Practice
Skills: Organic shapes · Contour · Proportion
Learn to draw an apple as an uneven contour rather than a circle. Separate the fruit from its stem and leaf, then use the shoulder heights and the small top dip to keep its character.
Practice Materials
Use a square frame with 4 × 4 matching cells. Draw on paper while keeping the reference beside you.
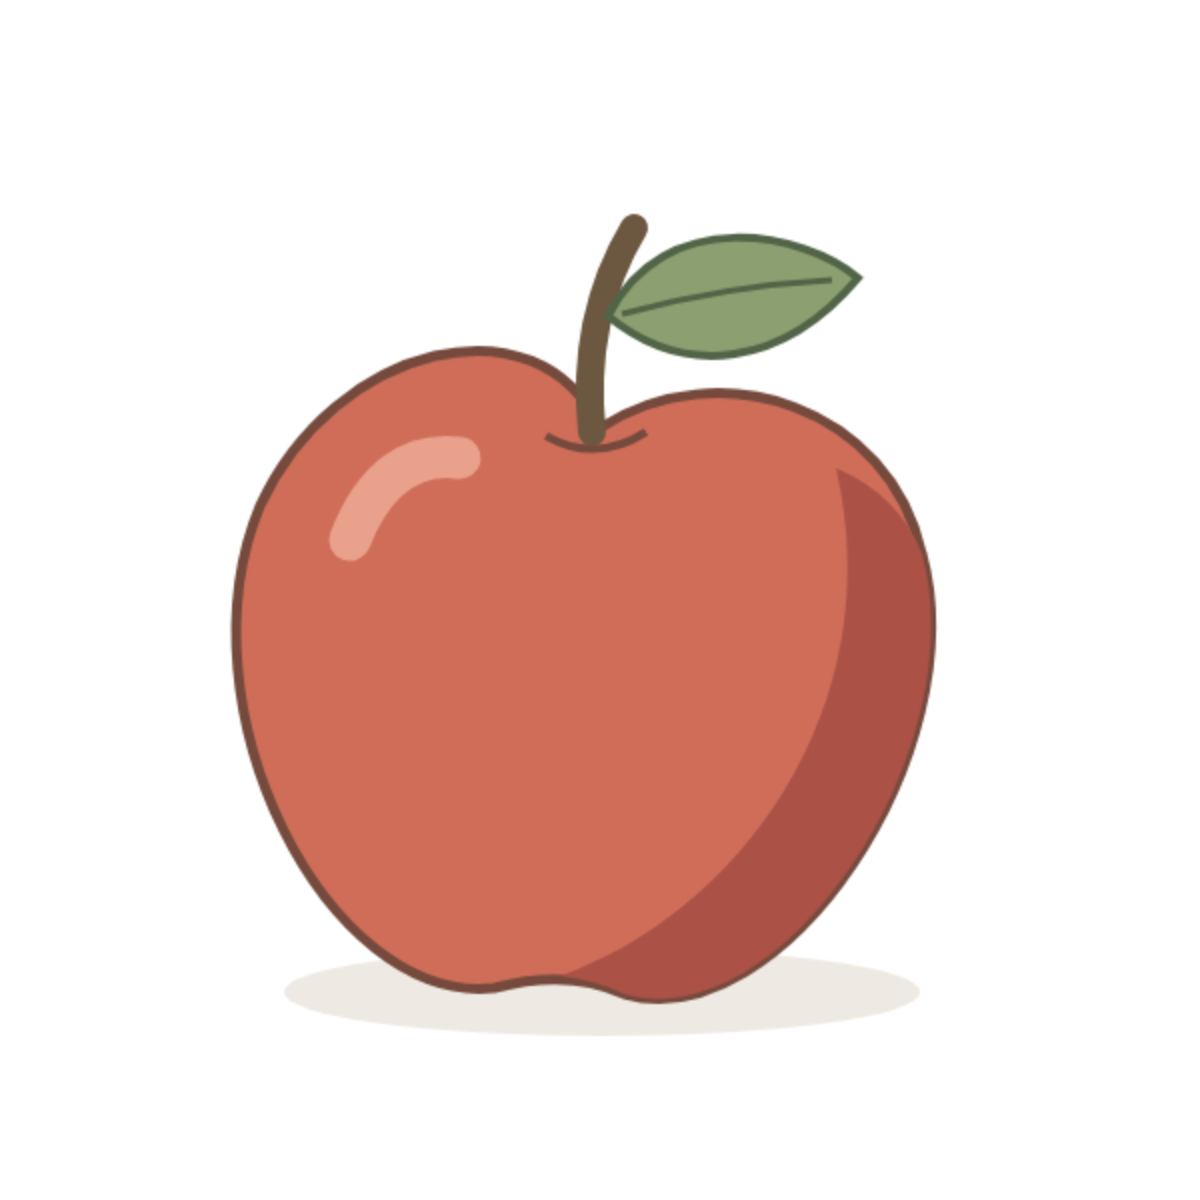
Reference Image
Observe the whole silhouette before using the grid.
Download reference PNGGrid Reference
Match the positions where curves cross cell edges.
Blank Grid
Keep the same frame proportions on your paper.
The PDF pairs a labeled reference with a matching blank grid. Print in landscape at actual size. Use the worksheet editor to change grid density, choose paper size or export a PNG.
01 — Compare the Two Shoulders
Find the two high areas of the red fruit, leaving out the stem and leaf. The left shoulder rises higher; the right shoulder meets the top dip at a different angle. Mark both before drawing an outline.
Compare the widest part of the fruit with its height. Use the grid to place the outer left and right turns, then draw a loose envelope through those marks. Keep the pale ground shadow outside this envelope.
02 — Locate the Dip and Tilted Stem
The stem starts inside the shallow valley between the shoulders. Sketch that dip first; placing the stem on top of a smooth round outline makes it look attached to the surface.
Follow the stem upward from the dip. It curves left before bending right toward its tip. Use the nearby vertical grid line as a comparison, then place the leaf on its right.
03 — Connect the Contour Before Adding Tone
Follow one side from shoulder to base, noticing where the curve gets fuller and where it turns inward. Repeat independently on the other side instead of mirroring it. Preserve the small irregular changes along the bottom.
Once the outside shape works, add the broad darker area on the right as one connected shape. Leave the light stroke until last: highlights cannot correct an apple that is too narrow.
04 — Check Your Drawing
Compare the whole drawing before refining individual cells. Use these checks to locate the largest mismatch.
Does the apple look like a perfect ball?
Compare the shoulder marks and the irregular base. Change the contour where the reference changes direction; avoid equal arcs on both sides.
Does the stem float above the fruit?
Return its lower end to the dip between the shoulders. Keep a little fruit visible on both sides of that attachment.
Is the leaf competing with the fruit?
Compare the leaf width with the body width before drawing its vein. Establish the larger red mass first.
Practice This Exercise
Make a second attempt on paper. Choose a gridded reference or remove the grid to test the relationships you have learned.
Compare the two shoulders of the apple. Keep the stem tilted and the base uneven.
The PDFs use the standard grid. For the challenge, draw a square frame on plain paper. Open the editor if you want fewer cells for an intermediate step.
Edit worksheetWhat You Practiced
- Unequal shoulder heights locate an organic contour.
- A stem grows from a dip rather than the top of a circle.
- A connected shadow can describe volume without surface detail.
Keep both attempts and note one correction: what moved, and which comparison showed you where it belonged?
Learn the Technique
Continue Your Practice
Reference: original DrawGrid illustration. Orange guides describe this reference and should be drawn lightly, then erased. Material source record