Exercise 06 · Difficulty: Intermediate · About 15 minutes
Easy flower Grid Drawing Practice
Skills: Petal landmarks · Organic curves
Build a flower from a center and five outer landmarks. Practice unequal petal spacing and then compare the two leaves without copying one side onto the other.
Practice Materials
Use a square frame with 4 × 4 matching cells. Draw on paper while keeping the reference beside you.
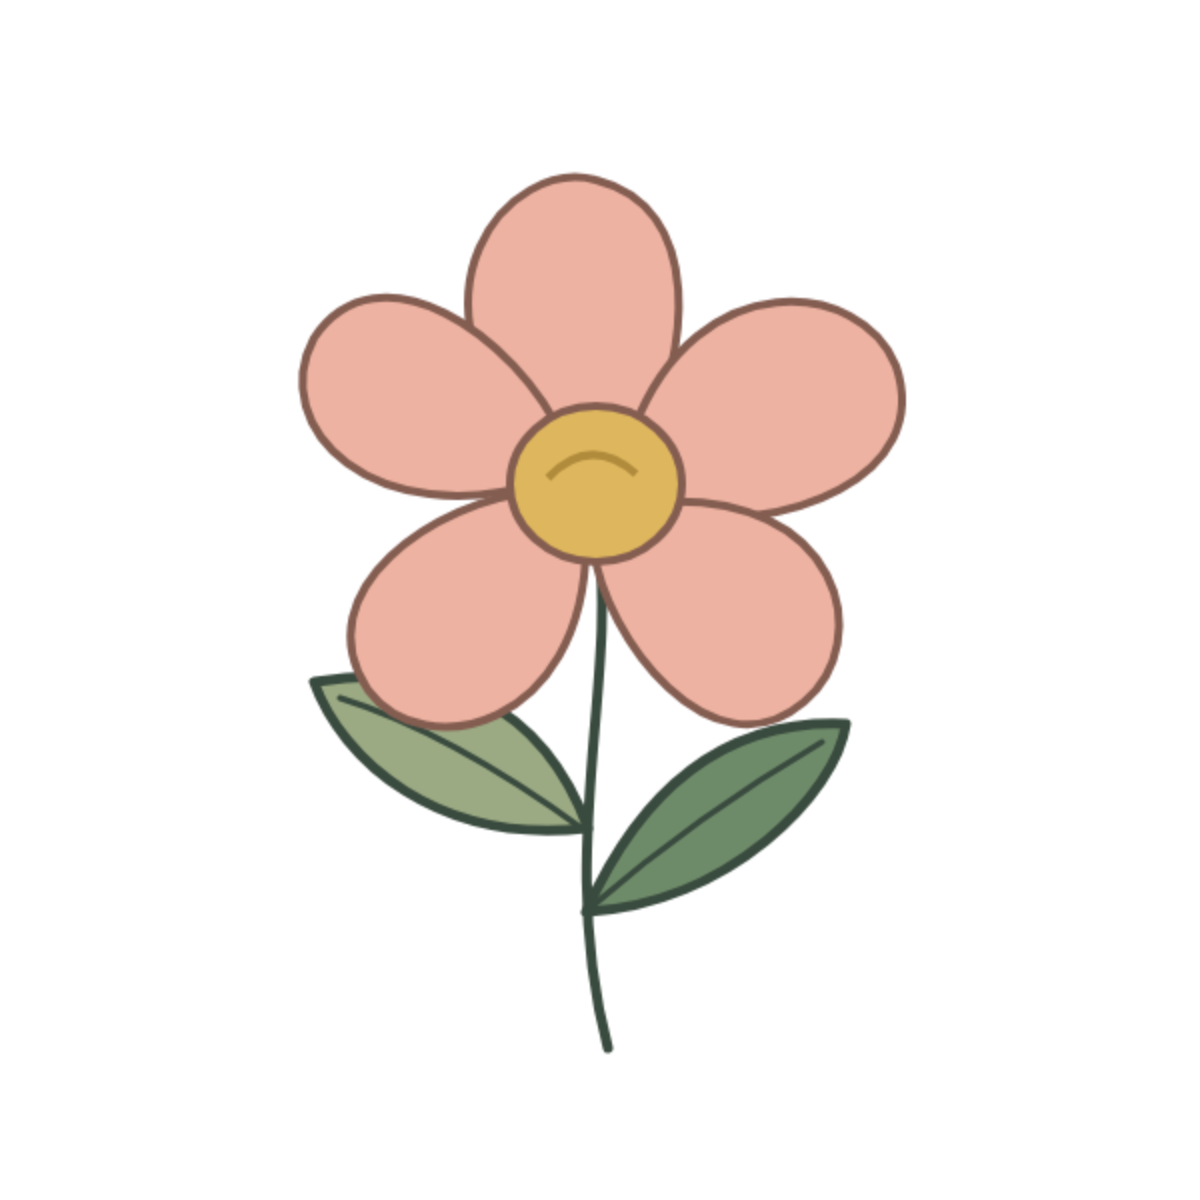
Reference Image
Observe the whole silhouette before using the grid.
Download reference PNGGrid Reference
Match the positions where curves cross cell edges.
Blank Grid
Keep the same frame proportions on your paper.
The PDF pairs a labeled reference with a matching blank grid. Print in landscape at actual size. Use the worksheet editor to change grid density, choose paper size or export a PNG.
01 — Place the Center and Petal Extremes
Locate the round yellow center first. It is above the middle of the page. Place a light mark for the farthest reach of each petal around it.
Compare the gaps between these marks. They do not form a regular five-pointed star. Keep the lower petal marks clear of the leaves below before drawing curves.
02 — Connect Broad Petal Curves
Work outward from the center toward one petal tip, then return on its other side. Compare where that petal meets its neighbors. Draw broad lobes rather than five separate circles.
Leave the center visible in front of the petal bases. Its width is a little over half a grid cell; an oversized center will leave too little room for the surrounding petals.
03 — Compare Leaf Angles Along the Stem
Follow the visible stem down from the flower. It bends instead of staying perfectly vertical. Mark the two leaf tips at different heights and on opposite sides.
Connect each tip to its own attachment point. Compare the white space above each leaf with the stem, then add the leaf edges around those directions. Keep the thin veins until last.
04 — Check Your Drawing
Compare the whole drawing before refining individual cells. Use these checks to locate the largest mismatch.
Does the bloom look mechanically regular?
Compare the five outer marks and the gaps between them. Adjust one petal at a time rather than making every lobe equal.
Has the center swallowed the petals?
Reduce the center to its reference width and reconnect the petal bases behind it.
Are the leaves mirrored?
Check their tip heights and stem attachments. The right leaf attaches lower, so its direction differs.
Practice This Exercise
Make a second attempt on paper. Choose a gridded reference or remove the grid to test the relationships you have learned.
Place the petal tips first. Compare the leaf angles before drawing the stem.
The PDFs use the standard grid. For the challenge, draw a square frame on plain paper. Open the editor if you want fewer cells for an intermediate step.
Edit worksheetWhat You Practiced
- Outer landmarks establish petal spacing.
- A visible center organizes overlapping petal bases.
- Leaf angles are measured from separate attachment points.
Keep both attempts and note one correction: what moved, and which comparison showed you where it belonged?
Learn the Technique
Continue Your Practice
Reference: original DrawGrid illustration. Orange guides describe this reference and should be drawn lightly, then erased. Material source record