Exercise 02 · Difficulty: Beginner · About 15 minutes
Simple Mug Grid Drawing Practice
Skills: Proportion · Ellipse · Negative Space · Symmetry
A mug gives you three clear shapes to compare: a tapered body, a shallow rim ellipse and an opening inside the handle. This simple reference lets you check each relationship before adding detail.
Practice Materials
Use the same 4 × 4 frame on your paper. Keep the reference visible beside your drawing; the blank grid has matching proportions.
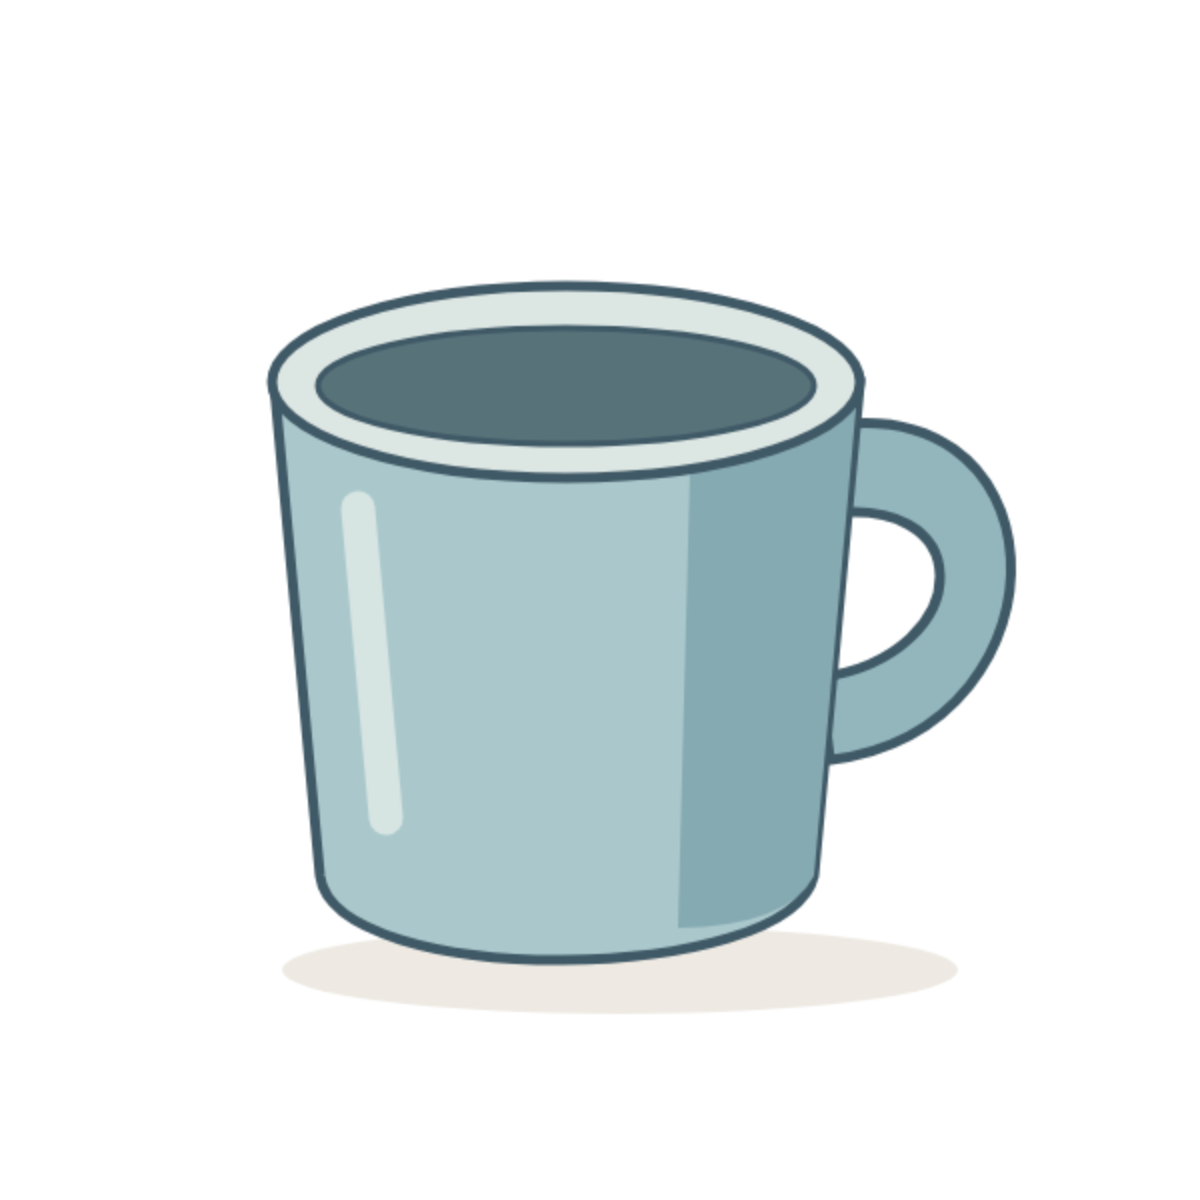
Reference Image
The original DrawGrid illustration.
Download reference PNG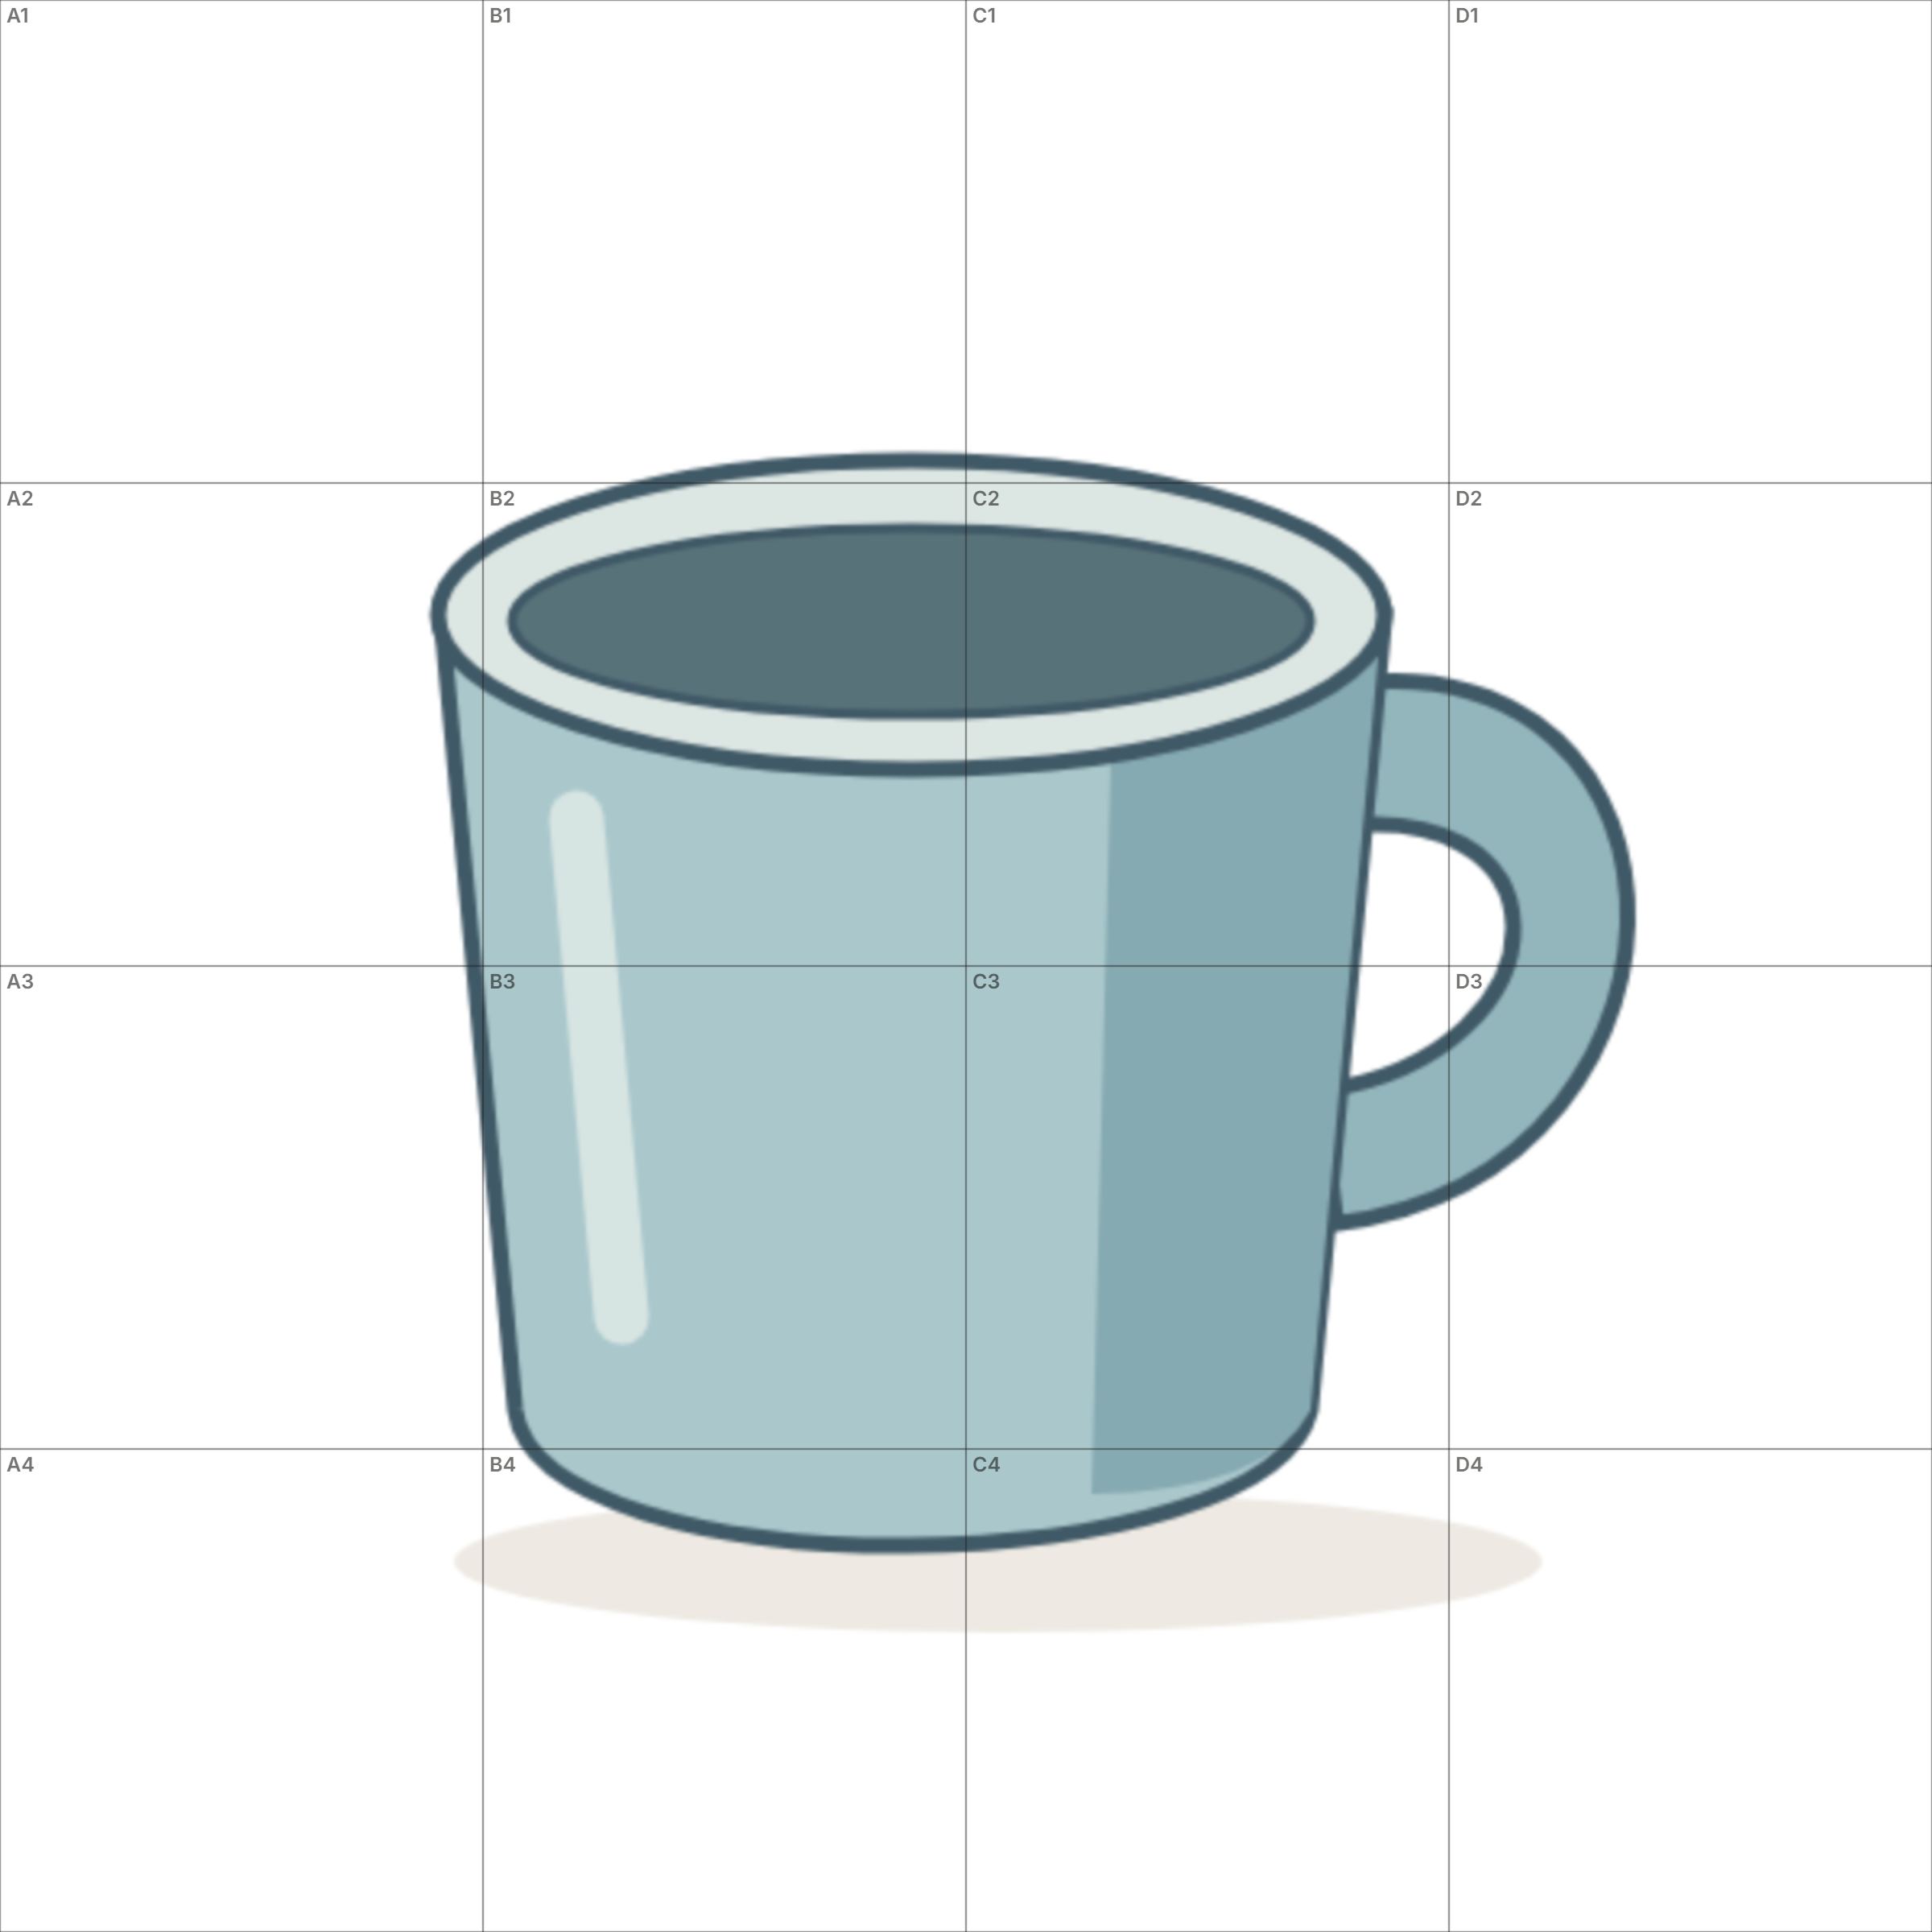
Grid Reference
Compare crossings within each cell.
Download grid PNG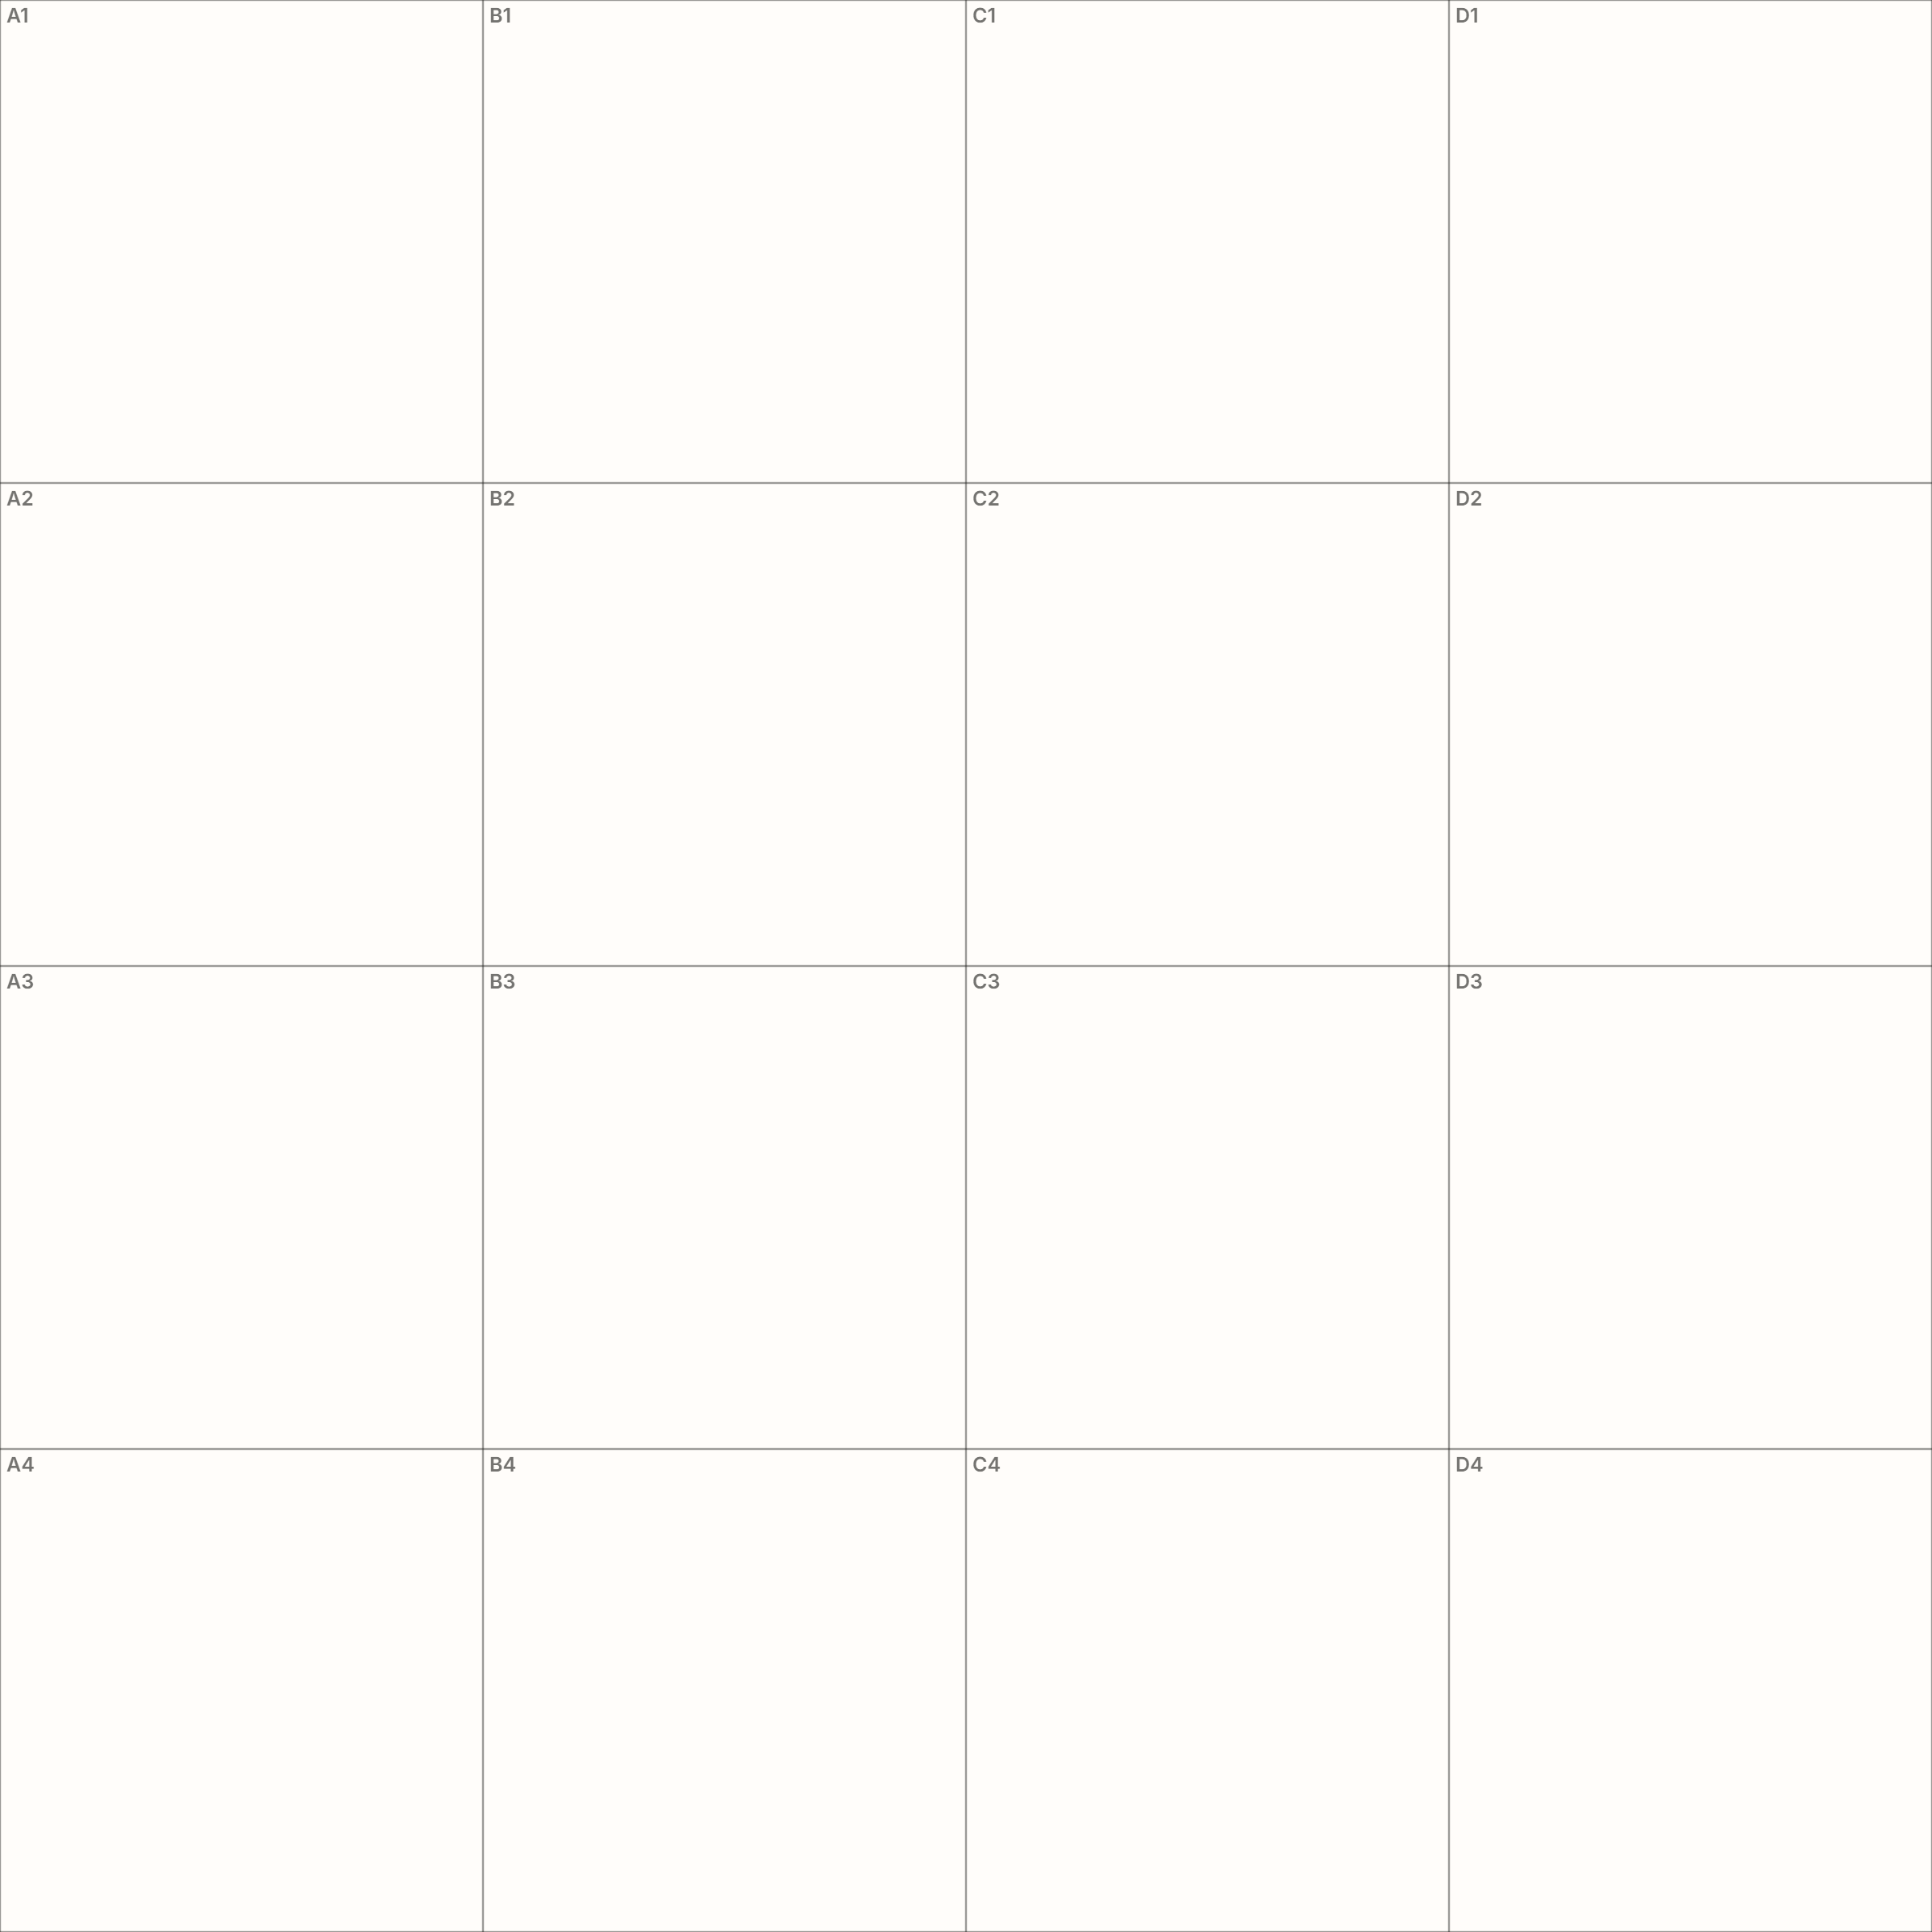
Blank Grid
Copy the frame, then place landmarks.
Download blank PNGThe PDFs include the reference and blank grid with matching cell labels. Print in landscape at actual size. Open the worksheet editor to adjust the grid or paper size.
Observe the whole object
01 — Find the Bounding Box
Mark the top of the rim, the bottom of the body, the left edge and the farthest point of the handle. Ignore the pale cast shadow below the mug: it is not part of the body.
The mug spans about 2½ cells wide and 2¼ cells tall. It is slightly wider than it is tall when you include the handle. Make four light marks on your blank grid before joining anything.
The dashed vertical line passes through the center of the body, not the center of the whole object. Compare the two body edges against this axis; the handle adds width only on the right.
Compare width and depth
02 — Draw the Top Ellipse
A circular rim looks like an ellipse when viewed at an angle. Here it is roughly two cells wide and two-thirds of a cell deep. Its center sits just below the first horizontal grid line.
Mark the left, right, top and bottom of the outer rim. Draw a light horizontal line through its center and join the four marks with one continuous curve. Check equal reach on either side of the body axis.
Keep both ends rounded. A pointed, eye-shaped rim usually means the curve changed direction too suddenly. Add the smaller opening only after the outer ellipse feels balanced.
Draw the empty shape
03 — Place the Handle
Look at the white opening inside the handle before tracing the blue ceramic around it. This negative space is a small, rounded wedge: narrow where it meets the body and fuller toward the right.
Mark the handle’s highest and lowest points. Its top sits below the rim center; its bottom remains well above the base. The outer handle reaches about half a cell beyond the body.
Sketch the opening from its upper meeting point with the body to its lower meeting point. Compare its width with the surrounding blue band. If the opening closes up, correct it before thickening the handle.
04 — Check Your Proportions
Step back before adding tone. Compare the entire silhouette, then fix the largest mismatch first.
Is the mug too tall?
Compare the top-to-base span with the full width, including the handle. If the drawing is tall and thin, correct the envelope before shading.
Is the rim too narrow?
Compare its left and right extremes with the body sides. Its width is about three times its depth; widen a pinched ellipse without sharpening its ends.
Is the handle too large?
Compare the empty opening with one grid cell. Reduce the outer reach if the handle dominates the body; keep the opening visible.
Is the handle too high or low?
Its upper attachment sits below the rim center, and its lower attachment stays above the base. Check both against horizontal grid lines.
The body is approximately balanced around its center axis; the whole mug is not symmetrical because of the handle. Keep the base narrower than the rim and avoid straightening the tapered sides.
Practice This Exercise
Choose the amount of support for a second drawing. Use the blank area as a guide for your paper; draw with pencil on your own sheet.
Place the four outer limits in matching cells. Draw the rim and handle opening, then compare the complete silhouette.
The PDFs above use the standard grid. For the challenge, use plain paper with a square frame. To try fewer cells, open the worksheet editor and reduce the columns.
Edit worksheetWhat You Practiced
- Bounding boxes: locating four limits before drawing the contour.
- Relative proportion: comparing the rim, body and handle in cell units.
- Ellipse construction: joining four landmarks with rounded ends.
- Negative space: using the handle opening to judge the ceramic around it.
- Symmetry: checking the body against its own center axis.
Write one sentence beside your drawing: “I corrected ___ by comparing ___.” Repeat the mug once without the grid to see which comparison you remembered.
Learn the Technique
Choose your next comparison
Reference: original DrawGrid vector illustration. Teaching guides are aligned to this reference, not universal proportions for every mug. Material source record