Deep dive
Understand the method, not just the steps.
Many drawings drift because the artist names the object instead of measuring its directions. A chair leg becomes “vertical,” a roof becomes “diagonal,” and the hand substitutes a familiar symbol for the actual slant in front of the eye.
Angle checks and negative shapes replace vague recognition with specific comparisons. They are especially effective for chairs, tools, architecture, and any subject with repeated gaps or long directional edges.
The strongest way to combine these tools is to alternate between a positive edge and the empty shape beside it. First compare the edge with vertical or horizontal, then inspect the polygon of background that the edge helps create. If both observations support the same placement, the decision is probably sound. If they disagree, pause before darkening the line. This two-part check is more dependable than repeatedly nudging a contour by instinct, and it teaches a form of visual reasoning that transfers to freehand drawing without rulers.
Compare slants with vertical and horizontal
Use an imaginary plumb line or level as a neutral reference. Ask whether an edge leans slightly or strongly and whether related edges converge, diverge, or remain parallel.
Draw the empty shape
The gap between chair legs or the space beneath an arm is often simpler than the object itself. Matching that empty shape exposes errors that a familiar contour can hide.
Measure relationships, not isolated lengths
Compare one distance with another: seat width against chair height, or the opening between legs against the leg thickness. Ratios are more transferable than guessed measurements.
Common mistakes
Flattening every slant into a symbol
Avoid default diagonals such as 45 degrees. Observe the exact direction and compare it with nearby edges.
Correcting the object but ignoring the gap
When a negative space is wrong, adjusting only one contour often moves the error elsewhere. Recheck both boundaries of the empty shape.
Measuring after adding detail
Do angle and spacing checks during the block-in. Once texture and line quality are developed, structural corrections become expensive.
Progress the skill
Combine angles into a structural network
Progress from isolated slants to related directional families. In a chair, compare the seat edges with one another, then compare the legs with the back supports. In architecture, group receding edges that share a direction. A single angle may be slightly wrong without looking obvious, but a family of inconsistent directions quickly makes the object feel twisted.
For the next study, draw the negative spaces first as three or four connected polygons and delay the object contour. Then add only the edges that those gaps do not already define. This reversal exposes how much form can be constructed from surrounding space and helps prevent familiar object symbols from taking control.
Practice exercise
Chair angle study
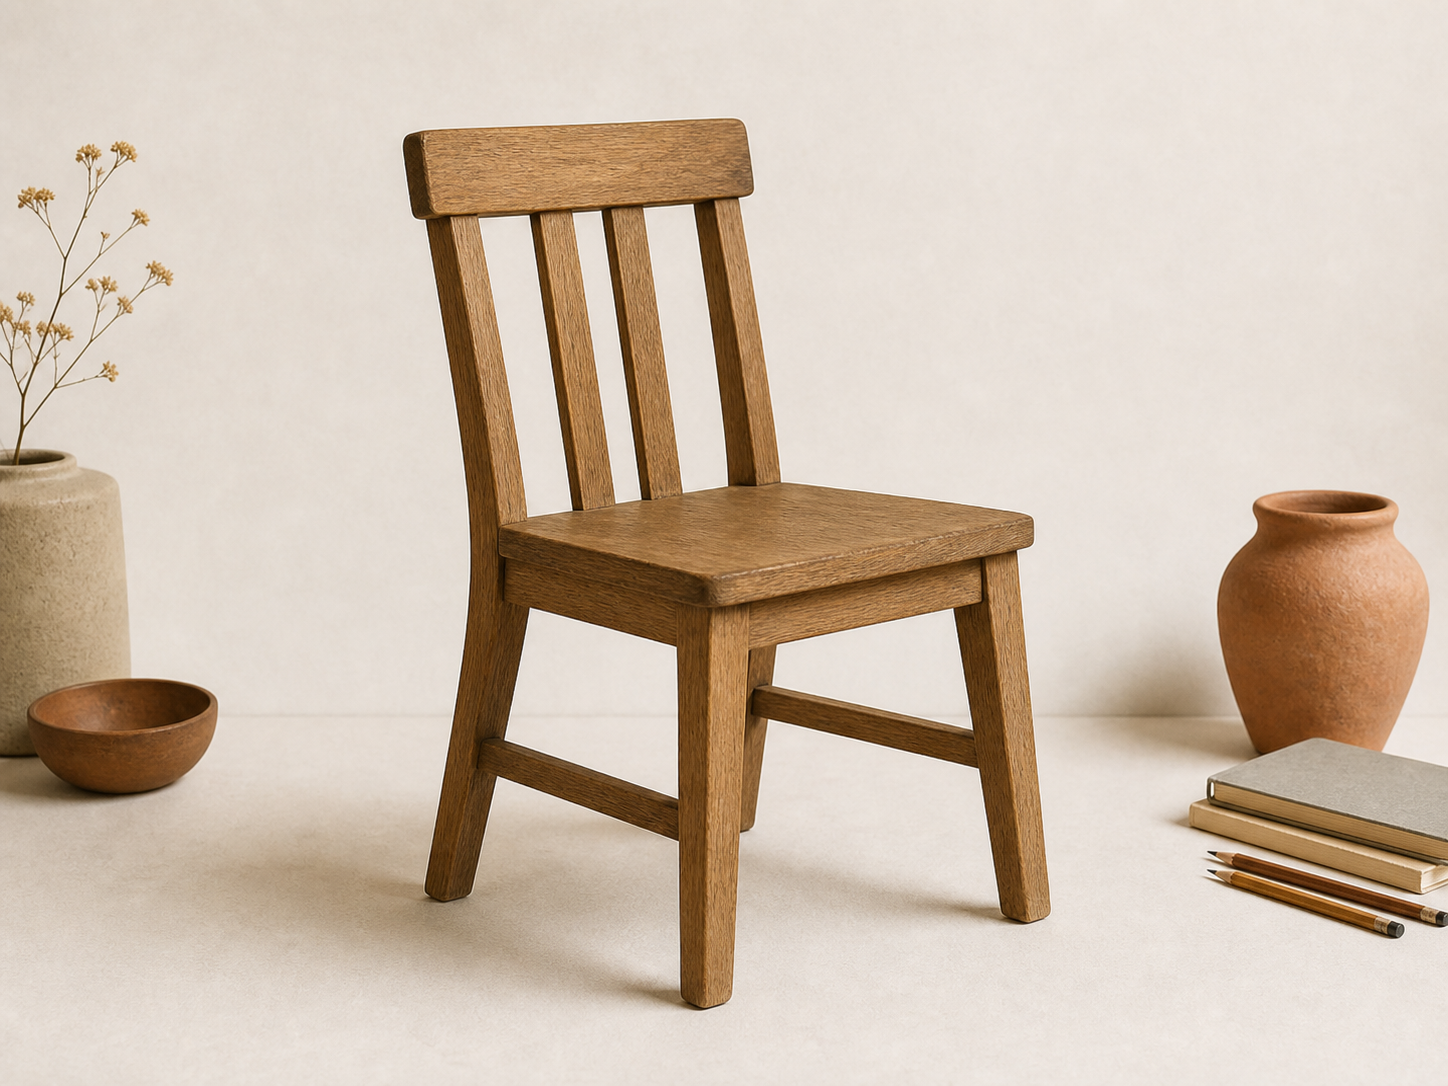
Use a chair or stool with clear openings and work only with straight construction lines.
- 01Mark the top, bottom, left, and right extremes.
- 02Compare the main edges with vertical and horizontal.
- 03Draw three important negative spaces as simple polygons.
- 04Connect the measured corners with straight lines.
- 05Overlay the reference mentally and correct the largest angular mismatch.
Frequently asked questions
Do I need a protractor?
No. Artistic angle measurement is comparative. Vertical, horizontal, and neighboring edges provide enough reference for most observational drawing.
Why do negative spaces improve accuracy?
They bypass the visual symbols associated with named objects. An abstract gap is easier to judge as a simple shape.
Should curved subjects use this method?
Yes. Reduce a curve to a sequence of directional changes and compare the negative spaces around it.