Exercise 11 · Difficulty: Advanced · About 20 minutes
Potted succulent Grid Drawing Practice
Skills: Overlapping shapes · Ellipses · Taper
Coordinate plant and pot as two linked groups. Start with the container, spread five leaf directions above it, then use interrupted edges to show which leaves sit in front.
Practice Materials
Use a square frame with 6 × 6 matching cells. Draw on paper while keeping the reference beside you.
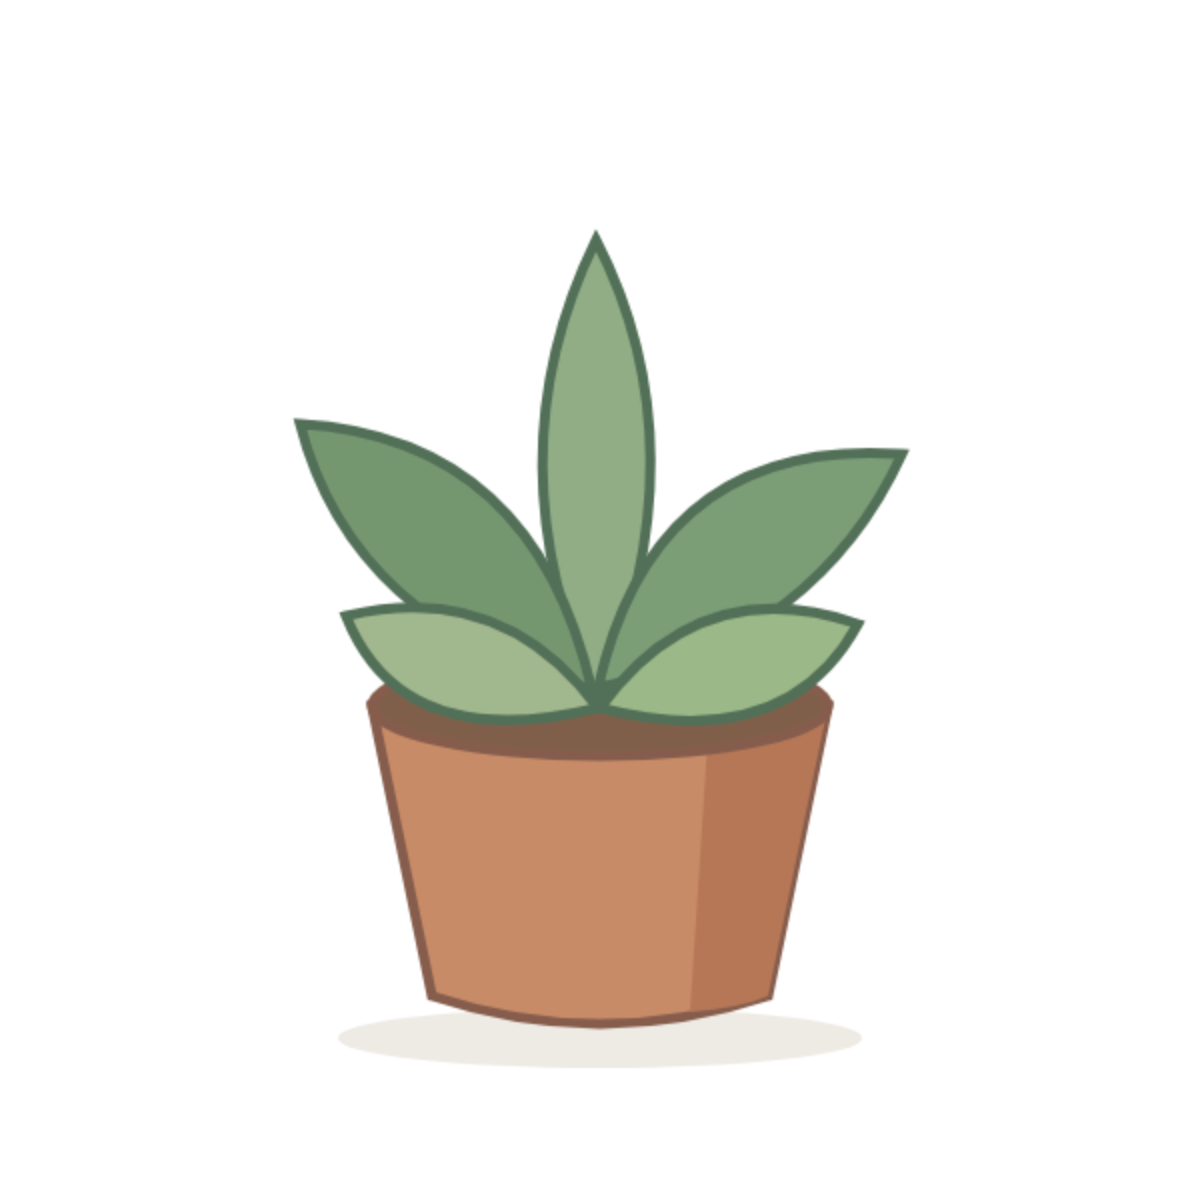
Reference Image
Observe the whole silhouette before using the grid.
Download reference PNGGrid Reference
Match the positions where curves cross cell edges.
Blank Grid
Keep the same frame proportions on your paper.
The PDF pairs a labeled reference with a matching blank grid. Print in landscape at actual size. Use the worksheet editor to change grid density, choose paper size or export a PNG.
01 — Construct the Tapered Pot
Mark the two ends of the pot rim and the two lower corners. The upper span is wider than the base, with both sides sloping inward. Compare those slopes together.
Place a shallow soil ellipse across the top. Keep its center over the middle of the base. The pale shadow beneath the pot does not belong to its outline.
02 — Spread Five Leaf Directions
Place the tall central tip first. It rises almost vertically from the middle of the pot. Then mark the high side pair and the lower, shorter pair.
Connect each tip lightly toward the cluster at the soil. Compare the spread of the side leaves with the pot width; the foliage reaches beyond the rim on both sides.
03 — Let Front Leaves Interrupt Back Edges
Build the tall and upper side leaves first with light outlines. The two low leaves cover parts of their bases, so stop the back contours where they meet the front pair.
The soil ellipse also disappears behind the plant. Erase those hidden guide segments instead of tracing a continuous dark ellipse through the leaves. Keep the front edges more definite than the construction beneath them.
04 — Check Your Drawing
Compare the whole drawing before refining individual cells. Use these checks to locate the largest mismatch.
Is the pot wider at the bottom?
Reconnect each upper rim end to its lower corner with an inward slope. Compare both sides against vertical grid lines.
Does the plant look like a flat star?
Separate the heights of the tall center, upper pair and lower pair. Vary leaf lengths before refining the curves.
Can you see soil or veins through leaves?
Remove hidden construction segments at the overlap. An edge should stop where the front leaf covers it.
Practice This Exercise
Make a second attempt on paper. Choose a gridded reference or remove the grid to test the relationships you have learned.
Place the pot corners first. Compare how the leaves overlap above its rim.
The PDFs use the standard grid. For the challenge, draw a square frame on plain paper. Open the editor if you want fewer cells for an intermediate step.
Edit worksheetWhat You Practiced
- A rim ellipse and tapered sides establish the container.
- Five unequal directions organize the plant.
- Interrupted contours make overlap visible.
Keep both attempts and note one correction: what moved, and which comparison showed you where it belonged?
Learn the Technique
Continue Your Practice
Reference: original DrawGrid illustration. Orange guides describe this reference and should be drawn lightly, then erased. Material source record