Exercise 05 · Difficulty: Beginner · About 15 minutes
Pear study Grid Drawing Practice
Skills: Relative proportion · Organic curves
Practice changing width along a single organic form. A pear has a narrow upper neck and a full lower body; comparing those widths is more useful than starting with a generic oval.
Practice Materials
Use a square frame with 4 × 4 matching cells. Draw on paper while keeping the reference beside you.
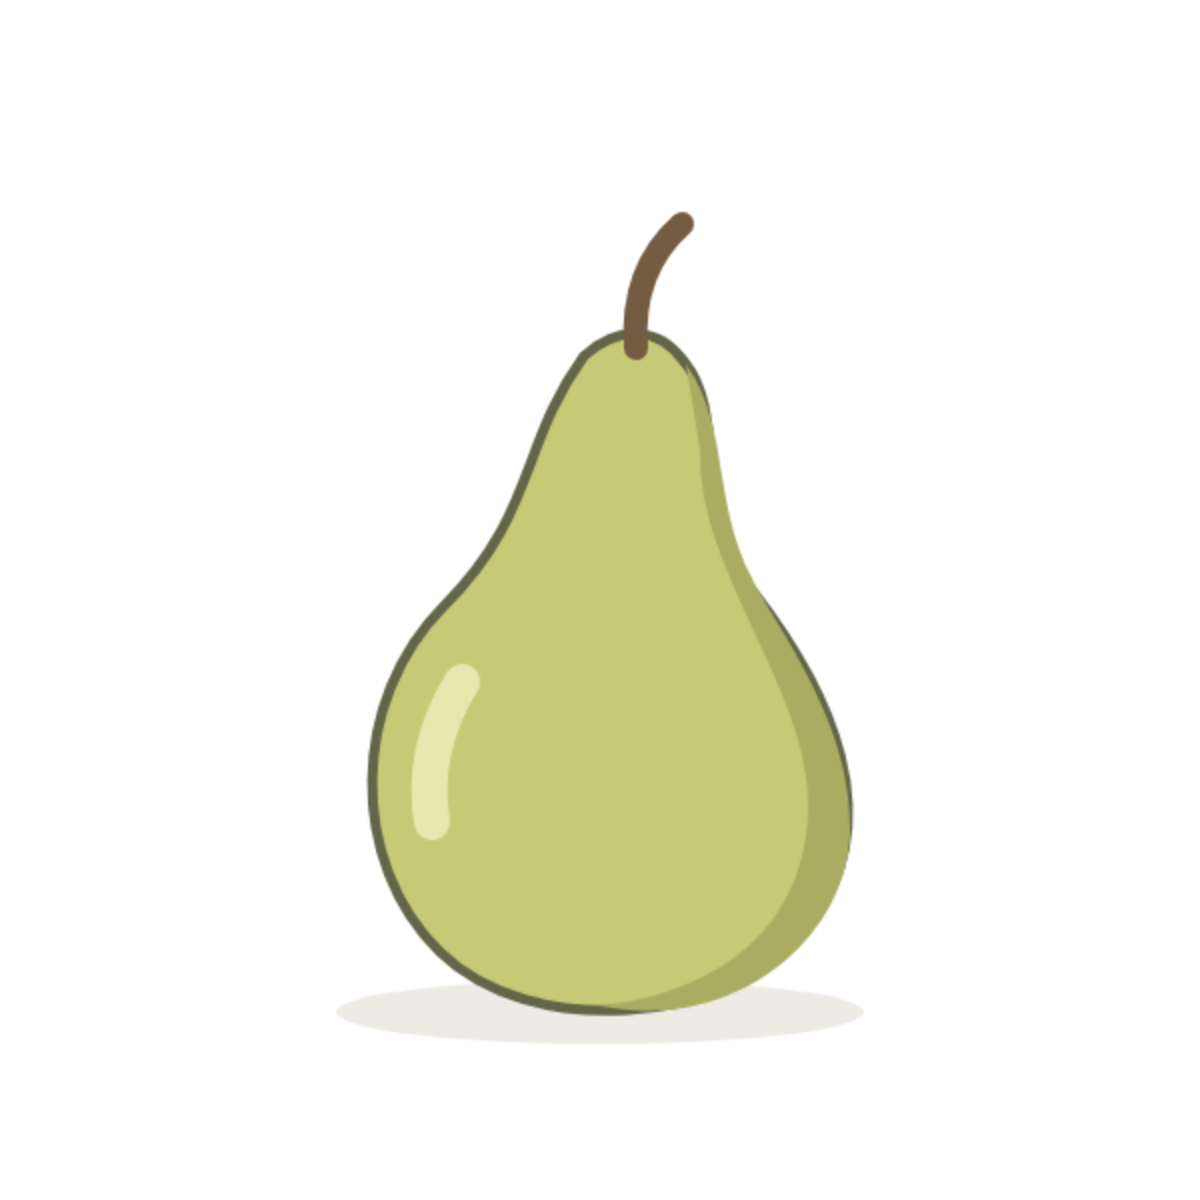
Reference Image
Observe the whole silhouette before using the grid.
Download reference PNGGrid Reference
Match the positions where curves cross cell edges.
Blank Grid
Keep the same frame proportions on your paper.
The PDF pairs a labeled reference with a matching blank grid. Print in landscape at actual size. Use the worksheet editor to change grid density, choose paper size or export a PNG.
01 — Separate Neck Width from Body Width
Place the top of the fruit below the stem and mark the base. Then find the broad lower belly. Most of the width belongs to this lower region, not the neck.
Make two pairs of marks: one across the upper neck and another across the belly. Compare both spans with a grid cell. Connect them only after their relative widths feel right.
02 — Follow the Unequal Side Curves
From the neck, follow the left edge as it sweeps outward toward the belly. Notice the shoulder transition around the second horizontal grid line.
Trace the right edge separately. Its neck turns inward and then moves outward into the body. Join the marks with changing curves, avoiding a straight triangle on top of a round base.
03 — Attach the Stem and Settle the Base
The stem begins near the top center of the fruit and bends toward the upper right. Mark its end, then sketch a single curved direction before giving it thickness.
Check the broad bottom against the neck. It should support the full belly, with a gently flattened turn rather than a pointed tip. Add the darker right-hand mass after the silhouette is stable.
04 — Check Your Drawing
Compare the whole drawing before refining individual cells. Use these checks to locate the largest mismatch.
Does the neck look like a triangle?
Round the transition into the belly. Compare the two separate side curves at each horizontal grid crossing.
Is the belly too high?
Move the widest marks into the lower half of the fruit. Check their height before expanding the contour.
Does the stem look disconnected?
Bring the curve down to the top of the fruit and compare its tilt with the upper neck.
Practice This Exercise
Make a second attempt on paper. Choose a gridded reference or remove the grid to test the relationships you have learned.
Find the widest part of the pear. Compare each side of the neck with the grid.
The PDFs use the standard grid. For the challenge, draw a square frame on plain paper. Open the editor if you want fewer cells for an intermediate step.
Edit worksheetWhat You Practiced
- Width changes describe a pear more accurately than one oval.
- Separate side curves preserve asymmetry.
- The stem direction continues the upper form.
Keep both attempts and note one correction: what moved, and which comparison showed you where it belonged?
Learn the Technique
Continue Your Practice
Reference: original DrawGrid illustration. Orange guides describe this reference and should be drawn lightly, then erased. Material source record