Exercise 12 · Difficulty: Advanced · About 20 minutes
Small teapot Grid Drawing Practice
Skills: Complex landmarks · Negative space · Alignment
Bring several measurements together: a rounded body, an angled spout, an open handle and a centered lid. Establish the body first so each attachment has a stable reference.
Practice Materials
Use a square frame with 6 × 6 matching cells. Draw on paper while keeping the reference beside you.
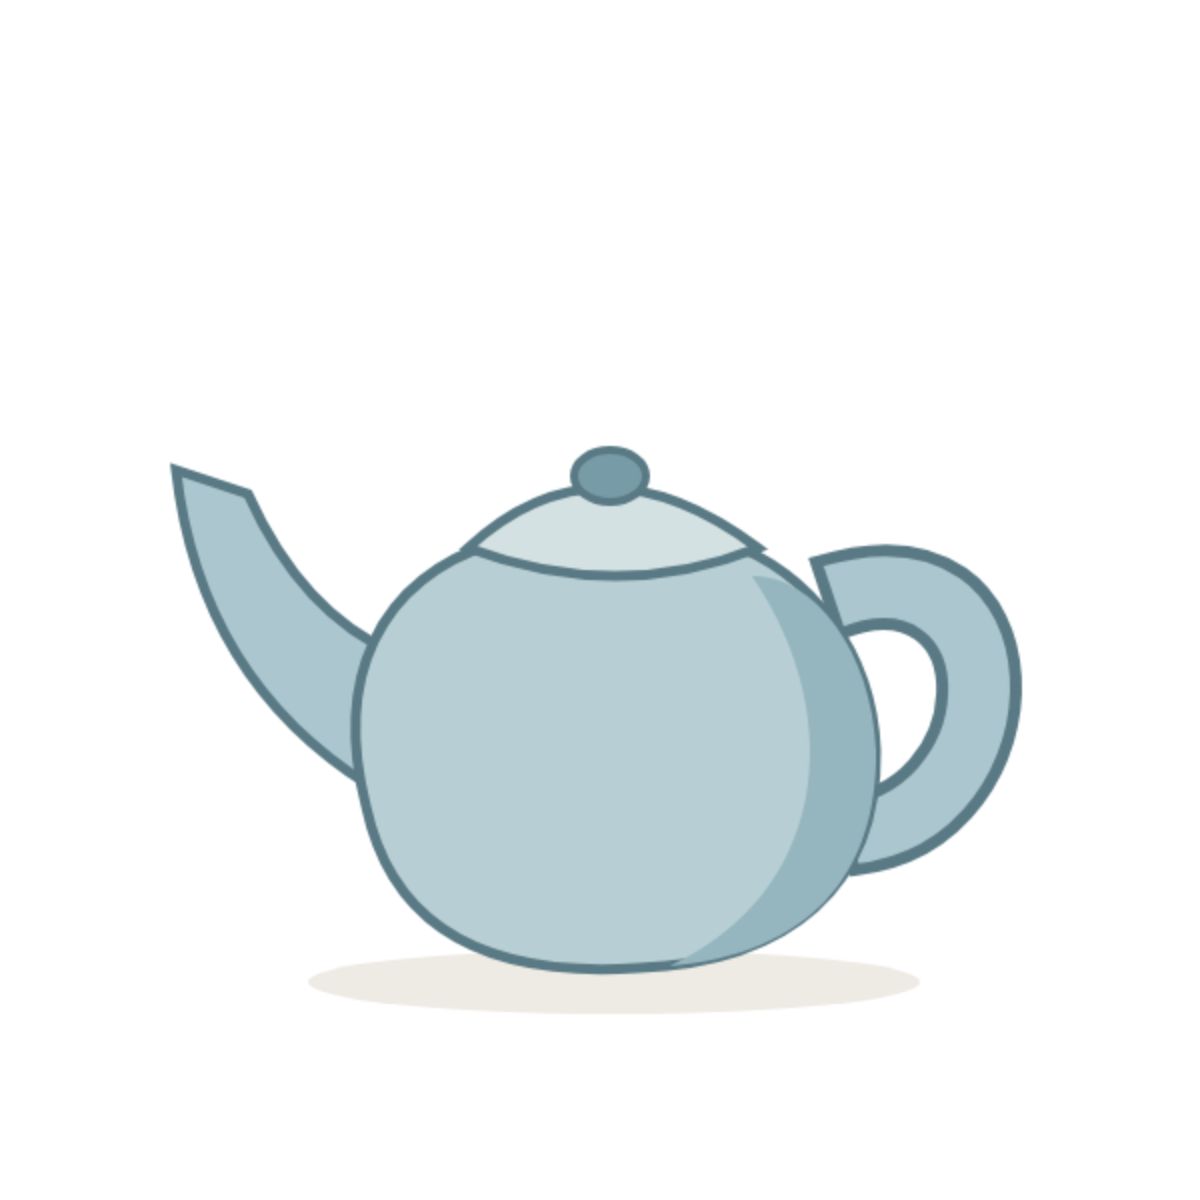
Reference Image
Observe the whole silhouette before using the grid.
Download reference PNGGrid Reference
Match the positions where curves cross cell edges.
Blank Grid
Keep the same frame proportions on your paper.
The PDF pairs a labeled reference with a matching blank grid. Print in landscape at actual size. Use the worksheet editor to change grid density, choose paper size or export a PNG.
01 — Anchor the Body and Lid
Locate the main body before including the spout and handle. Its center lies close to the central vertical grid line. Mark the body’s widest region and base.
Align the lid knob above the body. Compare the lid’s left and right reach from that axis; avoid centering it over the full silhouette, which includes unequal attachments.
02 — Set the Spout Angle from Its Tip
Place the two corners of the spout opening to the left of the body. Draw light guides from those corners toward the attachment region. Notice that the upper and lower contours follow different curves.
Compare the spout’s upward reach with the lid and handle. Keep the opening narrow and let the base widen toward the body. A horizontal tube will change the pouring direction.
03 — Keep the Handle Opening Clear
Observe the white opening inside the handle. Its upper edge sits below the lid, while the lower attachment remains above the body base. Sketch this empty shape before outlining the handle band.
Check how far the handle extends beyond the body. Draw the outer curve around the opening, then check the lid axis again: adjusting an attachment can make the whole body appear to lean.
04 — Check Your Drawing
Compare the whole drawing before refining individual cells. Use these checks to locate the largest mismatch.
Is the knob centered over the whole silhouette?
Center it over the rounded body instead. The spout and handle add unequal widths outside that axis.
Does the spout point sideways?
Recheck the opening height and the rising upper contour. Locate the tip before redrawing the attachment.
Has the handle opening become too small?
Compare the white shape with the surrounding blue band. Correct the inner curve before enlarging the outside.
Practice This Exercise
Make a second attempt on paper. Choose a gridded reference or remove the grid to test the relationships you have learned.
Place the spout tip and handle opening. Keep the lid centered above the body.
The PDFs use the standard grid. For the challenge, draw a square frame on plain paper. Open the editor if you want fewer cells for an intermediate step.
Edit worksheetWhat You Practiced
- A body axis locates the lid independently of attachments.
- Spout tips control the direction of the pour.
- Handle negative space checks both size and placement.
Keep both attempts and note one correction: what moved, and which comparison showed you where it belonged?
Learn the Technique
Continue Your Practice
Reference: original DrawGrid illustration. Orange guides describe this reference and should be drawn lightly, then erased. Material source record